
5 Step Guide to hatching with your broody Silkie
How to hatch fertile eggs with a broody Silkie.
5 Simple Steps on how to use your broody Silkie chicken to hatch eggs for you.
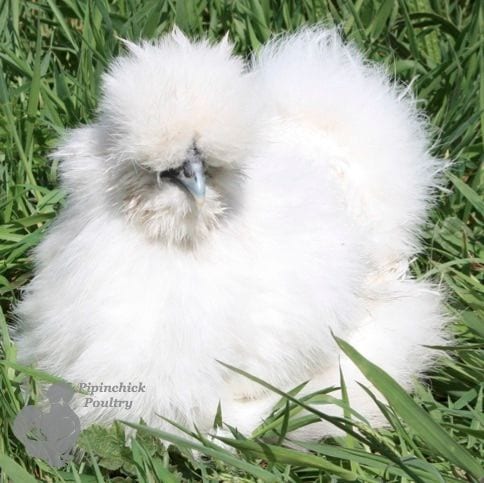
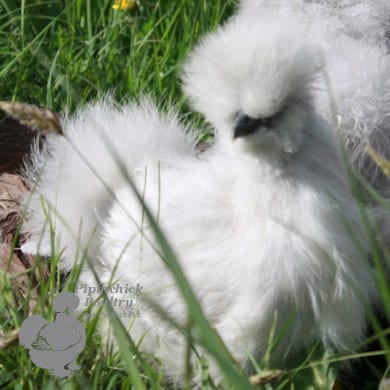
Silkie chickens are by far the most broody of the chicken world, often going broody even with no eggs to sit on, a Silkie chicken will sit fast even if a herd of wilder beast are running through her coup! Not much will shift her!
This makes her the ideal chicken to hatch fertile eggs with a great success rate.
They are wonderful for hatching eggs because not only are they very broody but they make wonderful mothers and you will not need an artificial brooder and light she will do all the work for you.
So whether you want to hatch more Silkies, other hen eggs or even ducks a Silkie is your one stop incubator solution for hatching small numbers.
See below Pipinchick Poultry’s 5 simple steps to hatching successfully with a broody Silkie chicken.
1. How to tell if you have a broody hen.
Silkies will be very easy to spot once they have gone broody, they will stay in their nesting box and will NOT come out, they will cluck at you if you get too close to them which is a very uncharacteristic trait of a none broody Silkie.
You can encourage a Silkie to go broody by placing a couple of dummy eggs in her nest area, these can be unfertilised eggs or rubber dummy eggs which you can buy from any good pet store or poultry centre.
Once you have noticed that your Silkie is broody you can then put fertilised eggs under her.
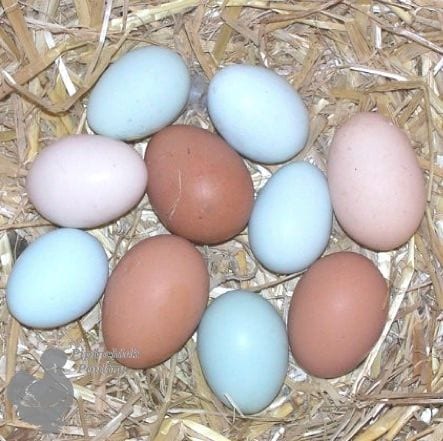
For the best chance of a good hatch rate you do not want your eggs to be more than 10 days old.
2. How many eggs can my broody Silkie hatch?
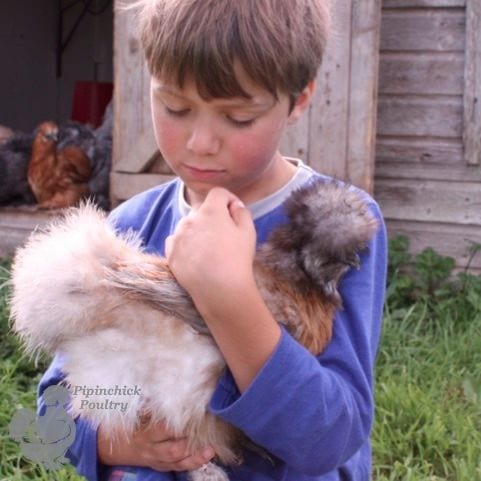
Silkies will also hatch other species for you, from ducks to other chicken breeds; she will then raise those babies as her own.
She is an amazing mother and diligent to her young.
When you have noticed your Silkie is broody you can then put fertile eggs under her, up to 10 bantam eggs, 6 normal hen eggs or 5 duck eggs. She can even sit on larger eggs but I would only put about 2-3 under 1 hen.
3. How to manage a sitting Silkie hen.
If you have decided to use your broody Silkie to hatch eggs then she will not require much from you.
Make sure she stays warm and dry.
She will get off to eat once a day but keep an eye on this as sometimes a Silkie can go so broody she will forget to eat or drink, make sure the food and water is close by so she can get to them easily. If she is not getting up to eat and drink then you will need to remind her that this is a god idea.
Gently move her off her eggs, she will give you a little bit of chatter but persevere, once she is off she will automatically go for her food and water then immediately sit back down again.
She will almost never not sit back so don’t worry, if she does not sit back then you will have to move the eggs quickly to an incubator…. But this never happens!
Keep an eye on her after this, she should then remember to get up and feed, if she doesn’t just keep repeating this once a day until she does.
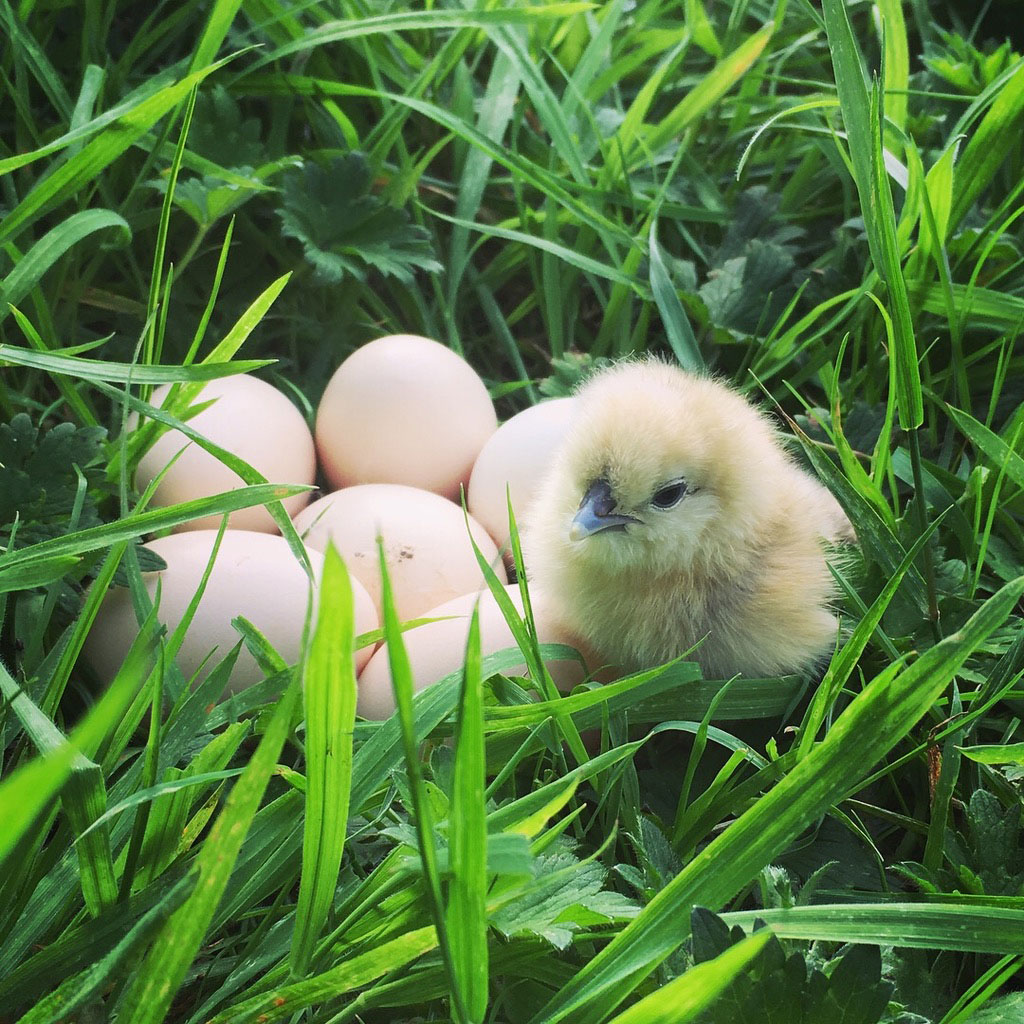
The eggs will take up to 21 days to start piping in the case of hen eggs.
Eggs from common ducks like Pekins require 28 days to hatch. Eggs from Muscovy ducks hatch in about 35 days.
4. What to do when the eggs start Pipping.
When your eggs begin to pip (the chick uses their little beak to break the shell from the inside). This means your chicks are on their way, this can begin anywhere from 2 days before hatch date to up to 2 days after so the main thing is to be patient.
With a sitting Silkie you will not need to do much, she will do the work for you; just keep an eye on her.
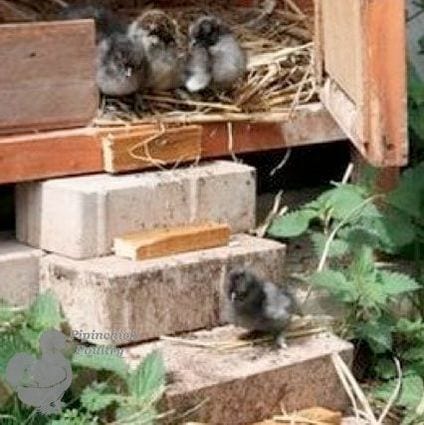
If you have a lot of other hens in your coup you may need to move them to allow your Silkie some peace to hatch the new babies. I wouldn’t advise moving Mumma at this stage as it might disrupt her.
Once her babies are hatches and a few days old then you could move her and them to a secluded location away form jealous older birds and cockerels.
(However a coop of only Silkies will not hurt the new arrivals not even the cockerels).
Keep an eye on your Silkie as she hatches her new chicks, but don’t be tempted to “help” your chicks out of their shells.
If they’re not pipping or they’ve pipped but they’re not pecked a out of the shell they’re not ready, leave them! By “helping” you could release a chick too early and without meaning to you could kill it.
If the yolk sac together with the blood vessels have not been fully absorbed into the stomach, the likelihood is that trying to ‘help’ by peeling away the shell will rupture one of these blood vessels and the chick will bleed to death.
Remember – from pip to hatch can take as long as 36 hours.
Let Mumma do the work she knows what she is doing!
Once all the chicks have hatched then you can help by removing old shells.
We once had a Silkie hatch 8 chicks in the dead of winter, we did offer her some help in the beginning by putting in a hot water bottle with her at night, to help keep the babies warm, I’m not sure of this is what you should do but we didn’t loose any and Mumma hen seemed happy with it, otherwise just let her be.
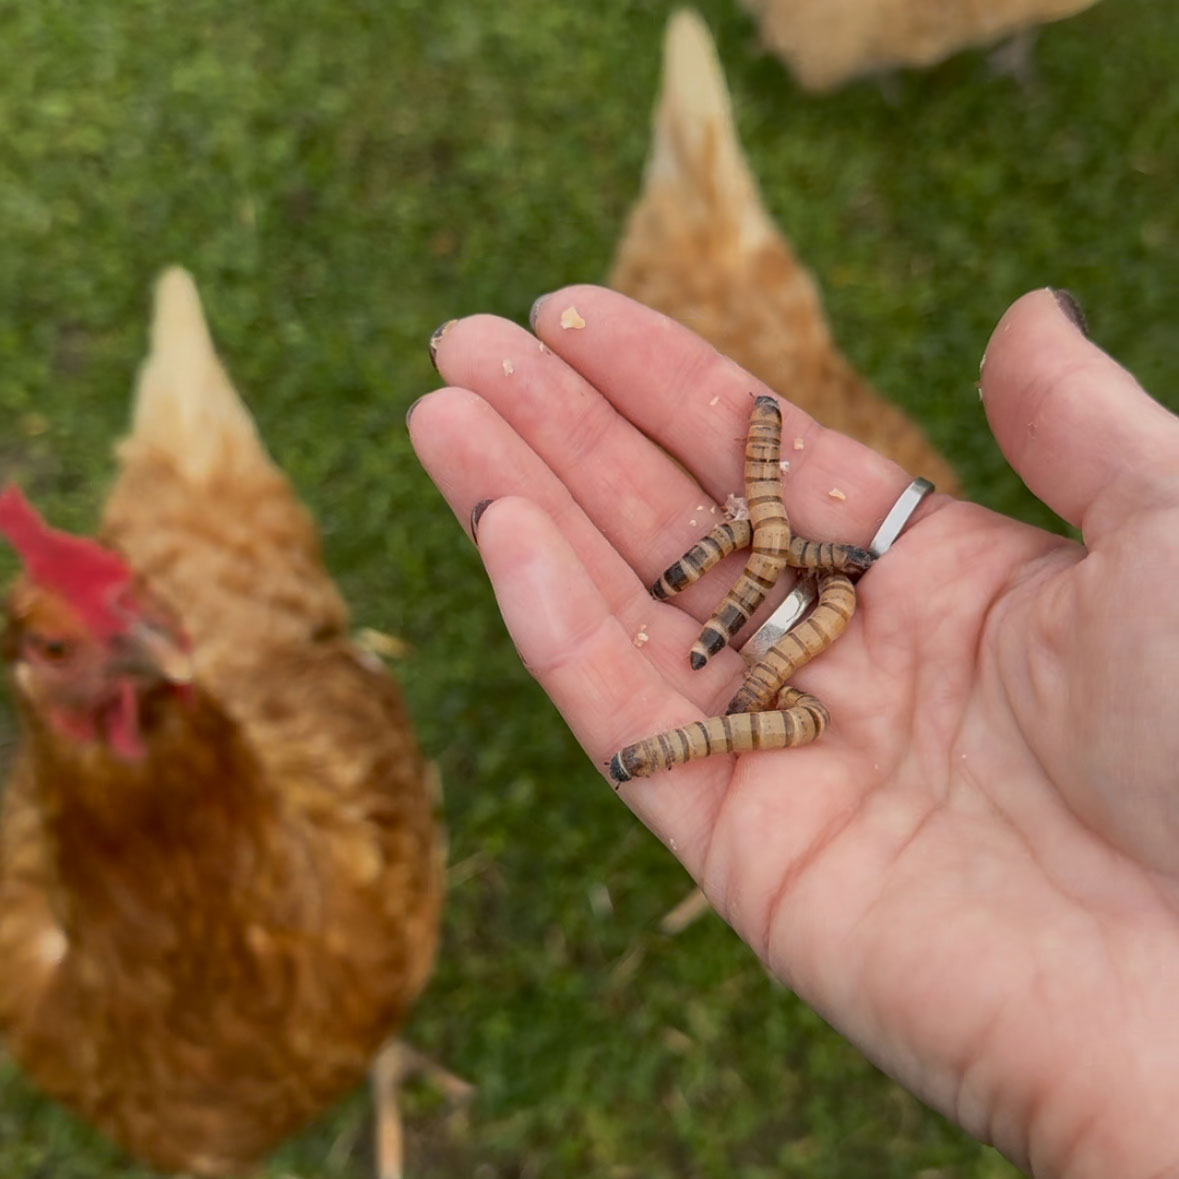
5. What do I feed the new baby chicks.
Put some chick crumb in the cop with Mum when they start to hatch, in a chick feeder, this will be small enough for the chicks to get to, keep feeding Mum her normal grain but in a feeder that’s raised up off the ground so the chicks can’t reach it.
Once they are 4-5 weeks they can move onto a grower or a rearer then at about 20 weeks they can go onto adult food.
Be careful with water, this will need to be in a chick water feeder, if you put a saucer in or anything shallow and open chicks can fall in and drown very easily.
You’re done! You did it, you now have a lovely little clutch of chicks hatched by your very own broody Silkie. Once the chicks are large enough they can go on their own. You will know when this is as your Mummy Silkie will continue to sit on the chicks to keep them at the right temperature until they no longer need her.