



A good chicken house should offer comfort, safety and shelter, without being unnecessarily large or overly cramped. And while most coop manufacturers will give you a guide for how many hens their houses can accommodate, it’s helpful to understand what your chickens actually need from the inside space, so you can make the right call for your flock.
How Much Space Do Chickens Need?
A standard rule of thumb is that a house measuring one square metre can comfortably hold up to 4–5 large hens, or 6–8 smaller breeds. That might sound tight, but remember: your chickens won’t be spending the whole day in there. The coop is mainly for sleeping, shelter and laying. Chickens aren't one for lounging around.
Inside the house, they’ll need:
- A safe place to roost at night
- Good ventilation (but not draughty)
- Nesting boxes for laying
- Easy access to food and water if you're keeping them inside for any length of time
The rest of their time will be spent outside, in a secure, enriching space where they can scratch, dust bathe, forage and flap.
It's also worth thinking about what goes underfoot — see what to use on the floor of your chicken coop and the floor of your chicken run.
Just starting out? A starter hen house & run for 2–4 hens or a compact house for up to 5 is a great first setup.
Inside vs Outside: What Matters More?
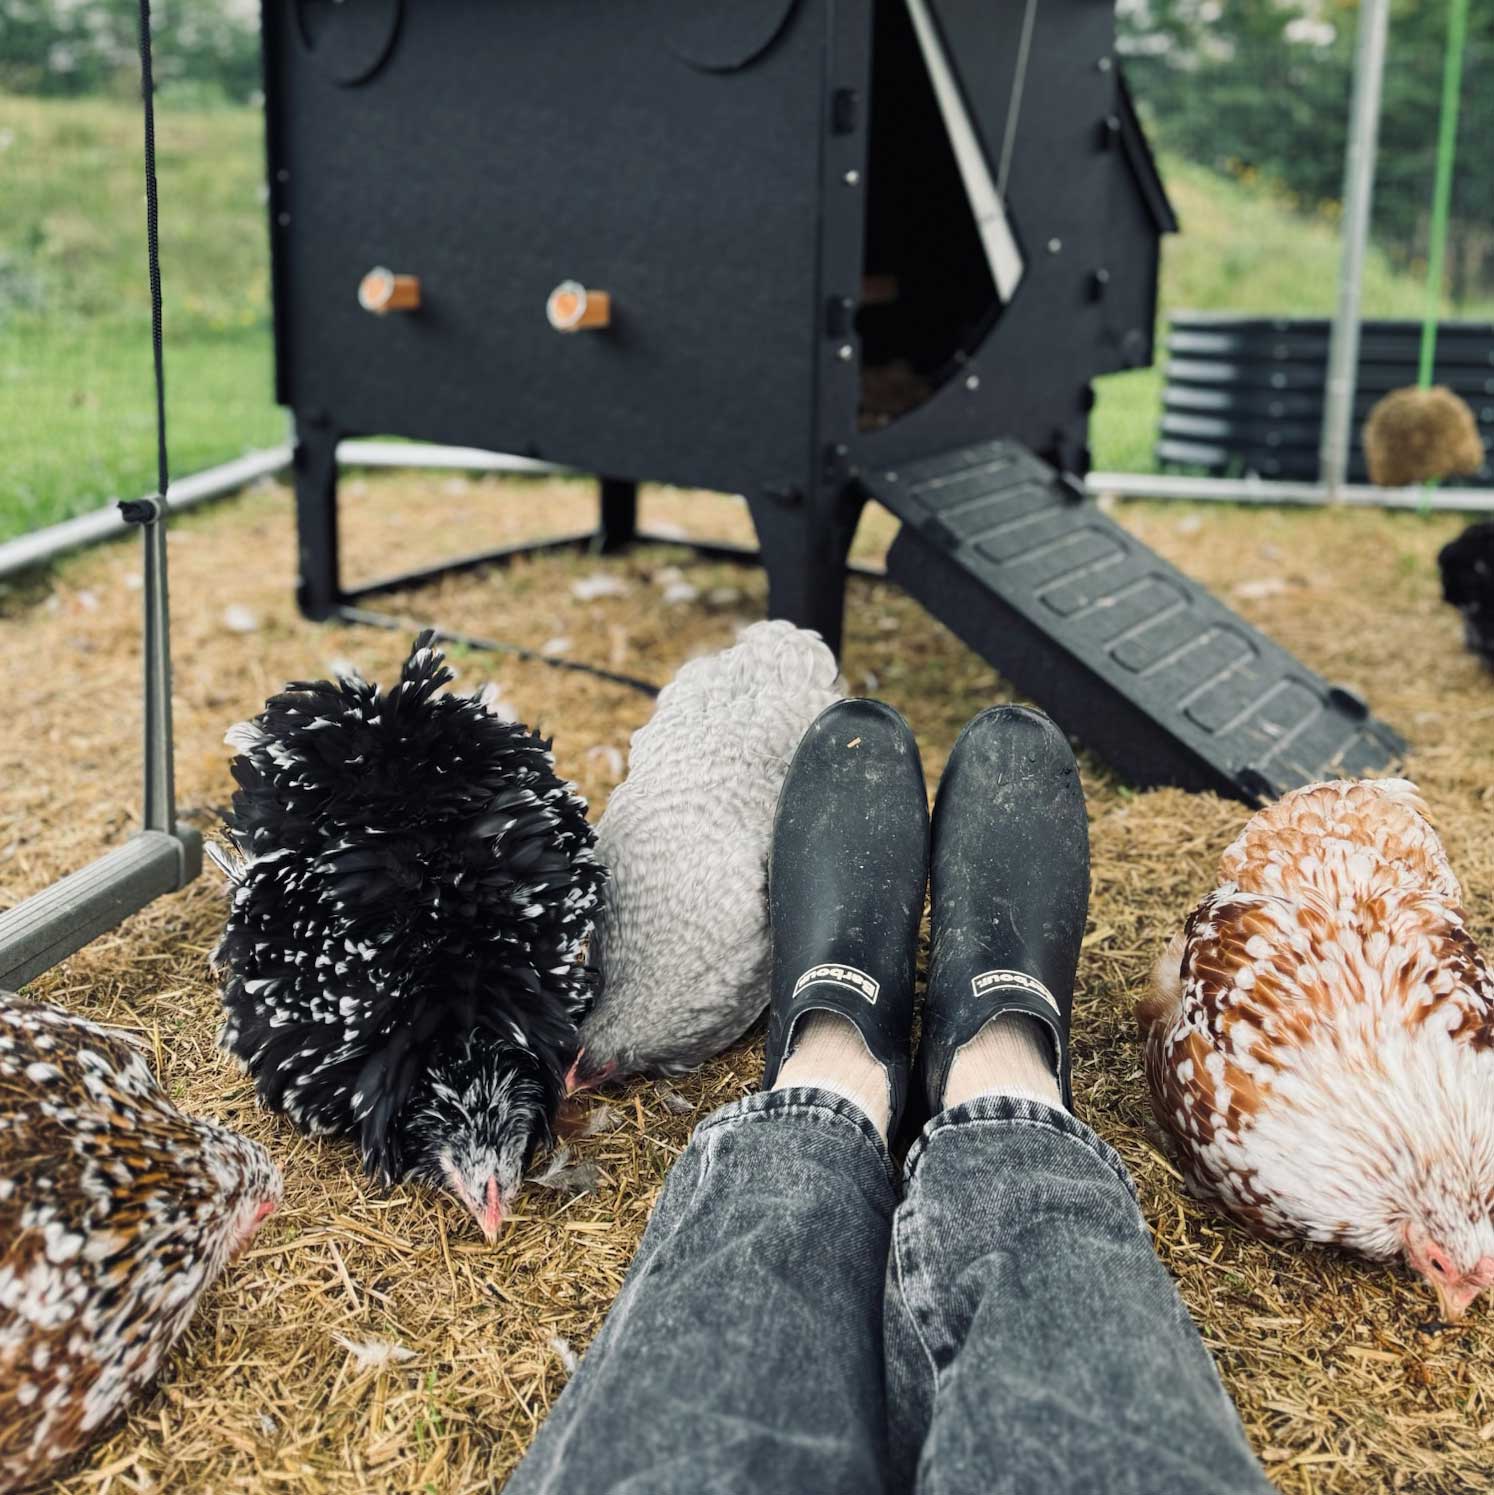
If you’re debating whether to spend your budget on a bigger house or a better chicken run, we would say, always go for the run. Outdoor space is far more important than indoor space when it comes to your chickens’ wellbeing. Chickens are active, curious little creatures. They thrive when they have room to move, explore, and indulge in their natural behaviours. A small house paired with a large, secure run is a much better setup than a large house with minimal outside access.
So, as long as your house offers shelter, safety, and enough room to roost and lay comfortably, you’re on the right track. Keep it cosy and dry with flake wood shaving bedding.
Give them room to roam with a walk-in metal run.
What If I Have a Smaller Coop?
Not everyone has the space for a big walk-in chicken palace, and that’s OK. You can absolutely keep chickens in a smaller house as long as:
- Your hens have plenty of outside space, either a secure run or free-ranging in a safe garden
- You provide extra nesting boxes externally if the house only has one or two inside
- Your flock is kept appropriately small for the space available
As a general guide, if your house has just one built-in nesting box and you’ve got more than three hens, it’s a good idea to add external nesting boxes. These can be attached to the outside of the coop, placed in sheltered corners of the run, or even made from upcycled items (think storage boxes, wooden crates, or old drawers). Just make sure they’re dry, dark, and cosy.
The One Nesting Box to Three Hens Rule
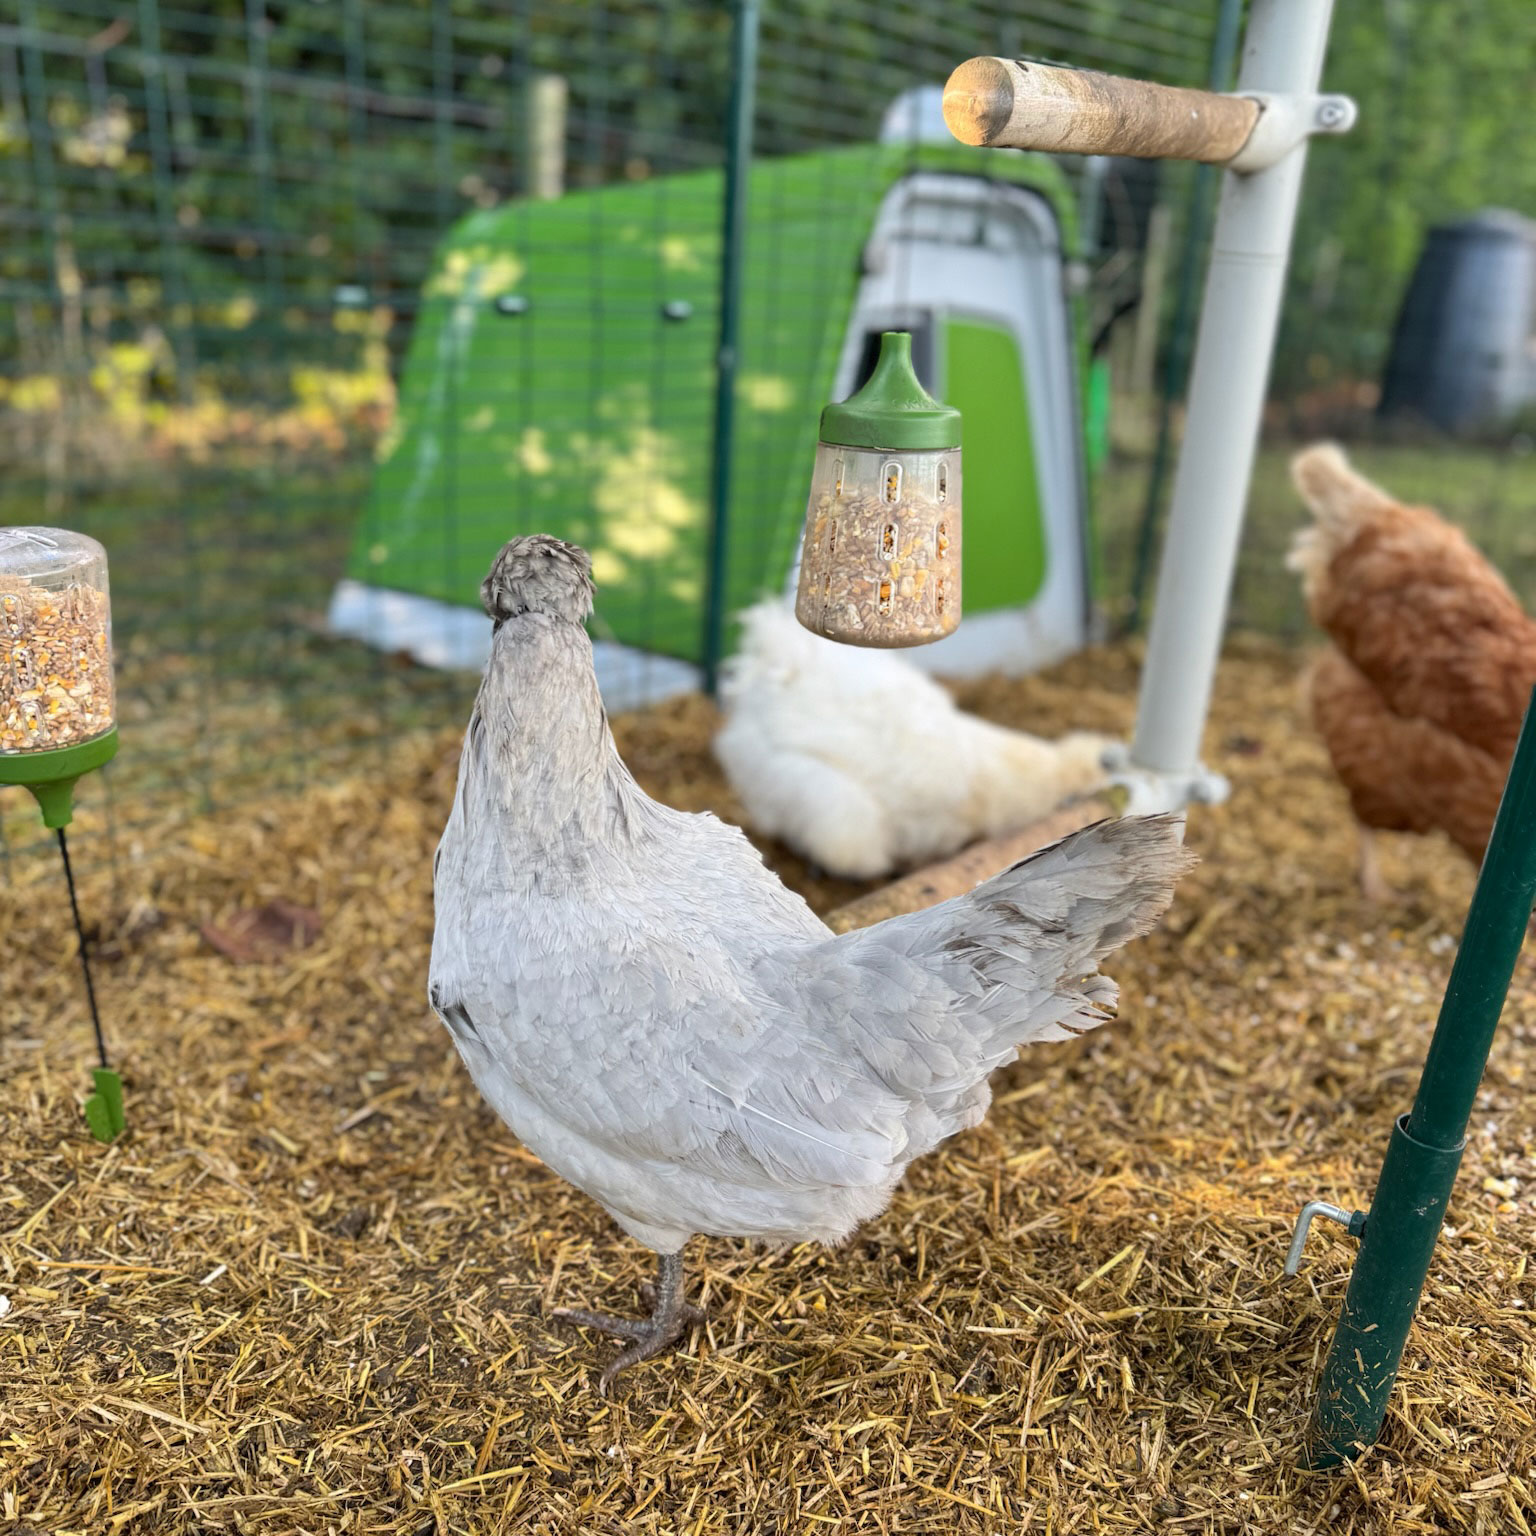
Aim for one nesting box for every three hens as a minimum. Chickens can be picky about where they lay their eggs, and they’ll often all try to use the same box even if others are free. But giving them a choice reduces stress, prevents queuing or squabbling over nesting boxes, and helps keep your eggs clean.
Need extra boxes? Try the My Cozy Nesting Box or the Poultry Palace Nesting Box.
Think Ahead as Your Flock Grows
One common mistake new chicken keepers make is buying a coop that suits their flock right now, not realising how quickly they might want to add a few more hens. It’s incredibly easy to fall in love with chicken keeping. You start with three… and then there’s that irresistible Speckled Sussex you spotted at the farm shop… and then someone offers you two rescues who need a home…
So, if you think you might expand your flock in the future, it’s worth investing in a coop with a little wiggle room or one that’s easy to modify. Look for houses that allow for add-ons, such as extension kits or extra nesting boxes, or consider building your own from scratch if you’ve got the DIY bug.
Planning to expand? Step up to a medium coop & run for 4–9 hens, the Forager for 4–10, or a large coop for 6–12 hens.
Ventilation, Hygiene and Access
The size of the coop is important, but don’t forget the design details that make your life easier too. A well-sized chicken house should also be:
- Easy to clean, with a wide door or removable base
- Well-ventilated to reduce moisture and ammonia build-up
- Designed to discourage pests and predators
- Easy for chickens to access, especially if they’re older or have mobility issues
It’s no use having a perfectly sized house if you can’t reach the back corner to collect eggs or clean out the droppings!
And don’t forget wider flock health — understand why bio-security is so important.
Related Reading
Getting the house right is just one piece of happy, healthy hen-keeping. If you’re still deciding on a coop, our guide on how to choose the right chicken house walks you through the key features to look for. Wondering how your flock will settle in of an evening? Find out whether your chickens will roost at night and why roosting space matters. And if a house move is on the cards, here’s the best way to move house with chickens without stressing your flock.
Getting the Size Right for Your Setup
So, what size house do you need for your chickens? That depends on the size of your flock, the breed of your hens, and how much time they’ll spend outside. As a general guide, aim for one square metre of indoor space per 4–5 large hens (or 6–8 small), and prioritise outdoor space and enrichment wherever possible.
Don’t be put off by a smaller house if it suits your space — just make sure you’ve got external nesting boxes if needed, and always provide more than enough room outside.
After all, a happy hen is one with fresh air, space to scratch, and a cosy place to lay her eggs. Get the balance right, and you’ll have a flock of content, productive girls in no time.
If you’re new to chicken keeping, or even if you’ve been in the game a while and your flock is growing, it’s always worth keeping check and making sure your setup is working as well as it can be. Ensuring you have enough nesting boxes is crucial for keeping your hens happy.
The golden rule is one nesting box for every three hens. And that’s the minimum we’d recommend. Why? Because hens can be fussy. They like a bit of privacy, a comfy spot, and they often have a favourite box. If you’ve got too few nesting spots, you’ll probably find your chickens squabbling over the same one, piling in on top of each other. And yes, they will probably just ignore the perfectly empty box right next to the one that’s currently full!
Why the Right Number Matters
Nesting boxes are essential for keeping your flock happy, your eggs clean, and your sanity intact. When hens don’t have enough boxes, they’ll start getting creative. You might find eggs in the coop corners, under bushes, behind the feed bin… anywhere they can tuck themselves away. And if they’re laying eggs on the ground, that means your eggs are at risk of getting broken.
Enough nesting boxes means:
- Fewer broken eggs
- Less stress for your hens
- Easier egg collection for you
- A more hygienic environment (nobody wants a trampled egg mess)
Can I Have Too Many Nesting Boxes?
Technically, yes. If you go overboard and add a nesting box for every hen, you’ll just end up with a load of unused boxes which will still need cleaning. Chickens are social animals, but they also love to copy each other, so even if you have five perfect nesting boxes, they might still all queue up for the same one. It's not always logical, but it's very chicken.
Stick with the one-to-three ratio and you’ll be in a good place. For example:
- 3 hens = 1 nesting box
- 6 hens = 2 nesting boxes
- 9 hens = 3 nesting boxes
If your flock is very large, you may find you can stretch that ratio slightly if your hens are good at taking turns (some are better than others), but you’ll quickly know if there’s a problem. Watch out for queuing, nudging, or grumpy behaviour around egg-laying time.
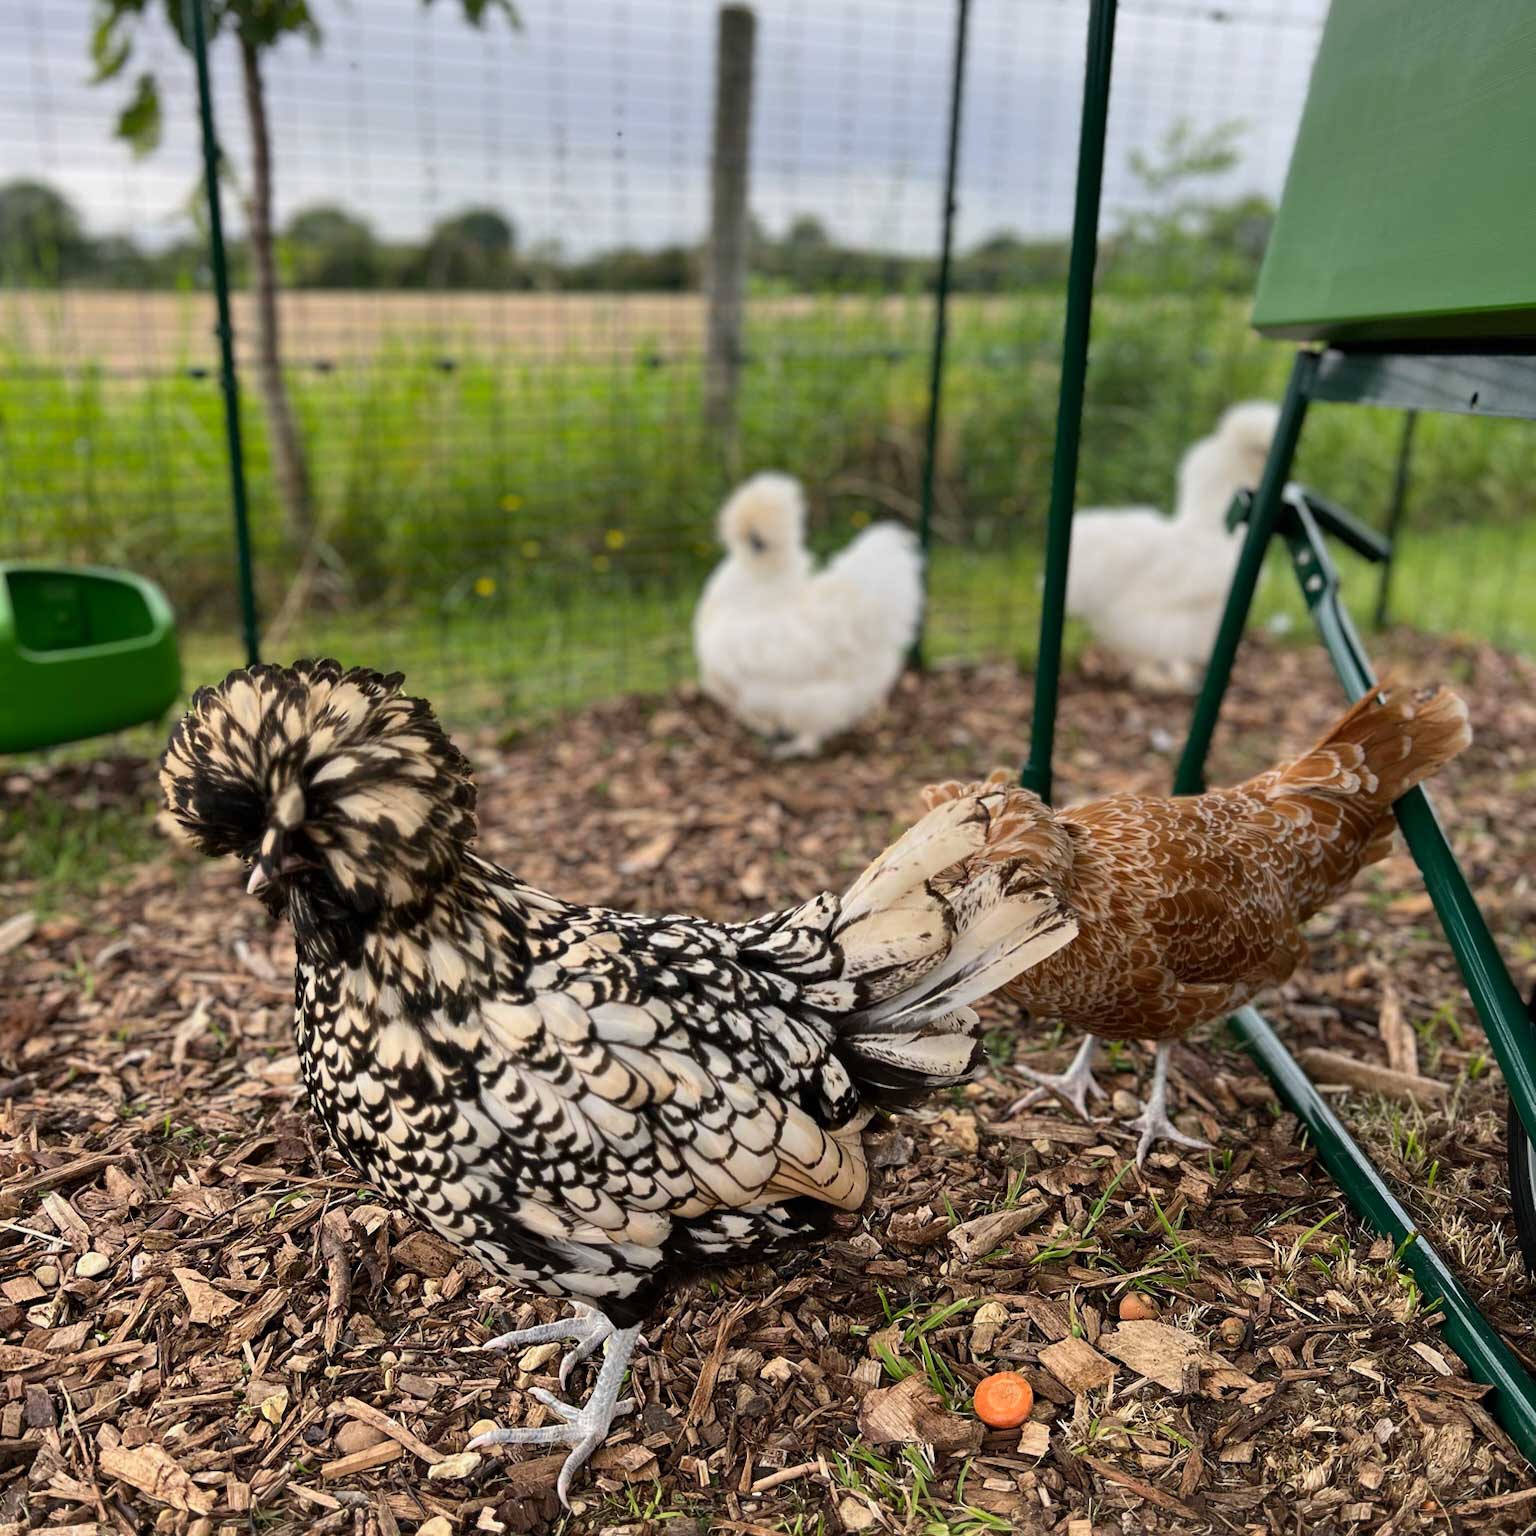
What If I Don’t Have Room in My Coop?
Not every coop comes with a palace of internal nesting space, and if you’re keeping chickens in a compact setup, it’s totally fine to get a bit creative. External nesting boxes can attach to the outside of your coop, creating little lean-to shelters in the run, or even upcycle old crates, drawers, or plastic tubs as long as they’re safe, dry, and accessible.
The key things to remember:
- Nesting boxes should be sheltered from wind and rain
- Hens like low lighting and privacy when laying
- Place boxes off the ground if possible to discourage rodents and damp
- Use a comfy lining (we like hemp, straw or nesting pads) and keep them clean
If your hens start avoiding the boxes you’ve provided, it’s often a clue that something’s not quite right, maybe they are too exposed, too bright, not clean enough, or just plain unpopular. You may have to use some trial and error, but that's all part of the fun.
When Hens Share (and When They Don’t)
Even when you provide the perfect number of boxes, hens might still all try to lay in the same one. Definitely not a chicken-keeping failure, just flock dynamics. Sometimes a box gets “favourite” status, and that’s that. However, giving them options is still important, especially if a box becomes faulty, breaks, or suddenly falls out of favour.
Do Nesting Boxes Need to Be in the Coop?
Not necessarily, as long as your chickens are safe from predators and the elements, nesting boxes can go in the run, in a sheltered corner of the garden, or even in a converted shed or outbuilding. The key thing is that your hens know where to go—and that you can easily reach the eggs when it's time to collect them.
Just be aware that if boxes are too far from the coop or not part of their regular routine, some hens might get confused or go rogue with their laying. Hens will appreciate consistency.
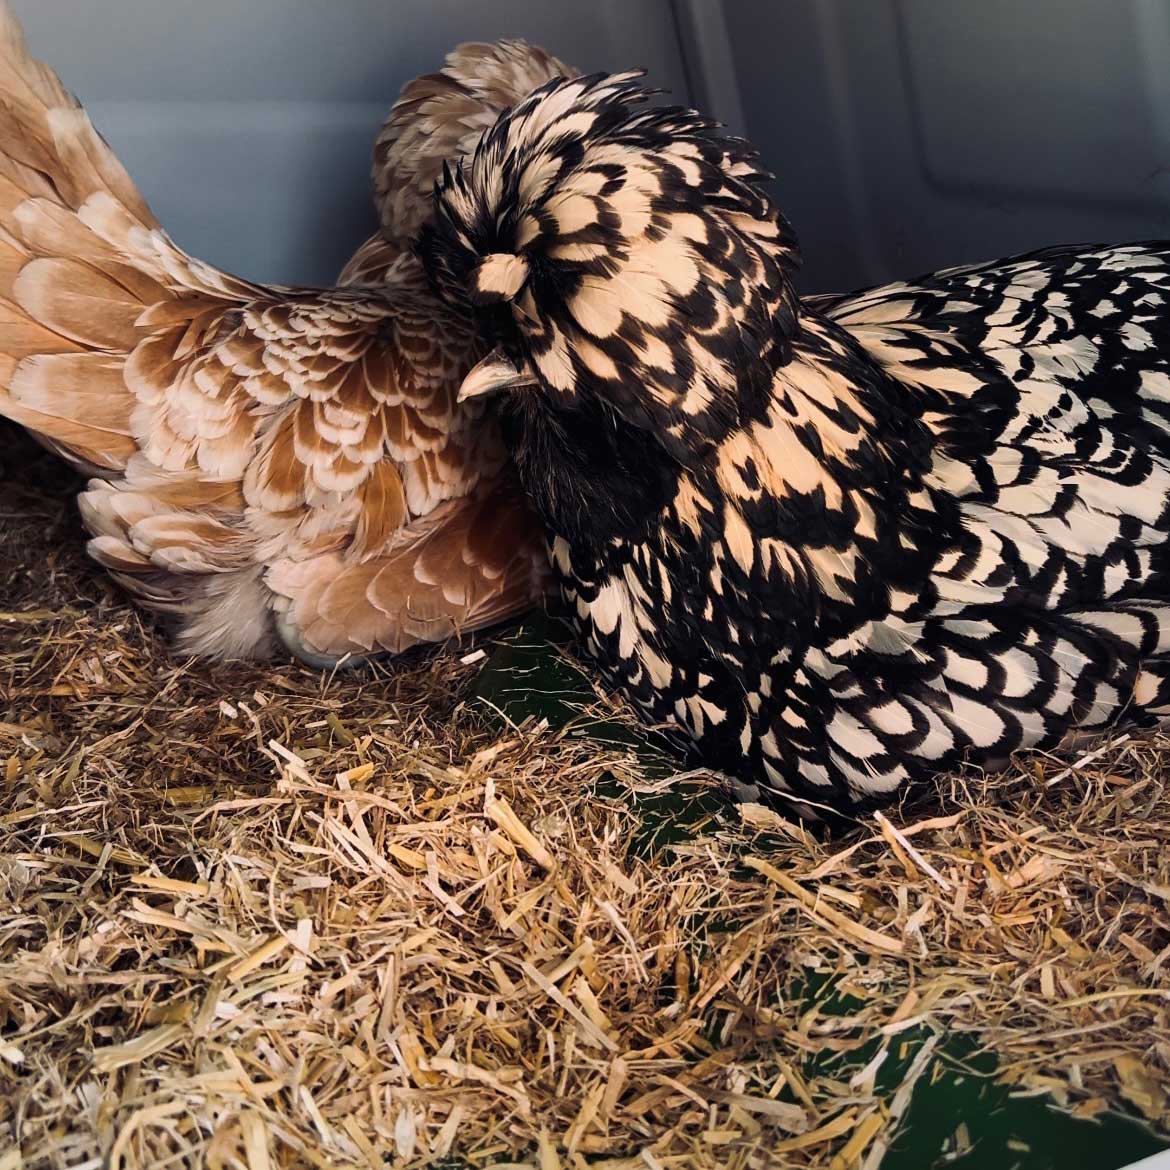
Buying Hen Nesting Boxes
So, how many nesting boxes do you need? At least one for every three hens, or more if you’ve got space and particularly choosy birds. You don’t need to go overboard, but you do need to be thoughtful. The right number of nesting boxes can make all the difference to ensure a calm, happy coop.
Don’t worry, if you need to add more later, chicken keeping is all about adapting as you go. And remember, it’s not about having the fanciest boxes, it’s about having enough of them, placed in the right spots, and keeping them nice and clean.
We always advise buying sexed birds that are vaccinated, sadly when buying chicks you are not always going to be able to get sexed chicks, so unless you are prepared for cockerels buying older sexed hens is best. Cockerel to hen ratio can be anything as high as 60-40%.
Chicks will need vaccinated at certain times for different diseases and viruses and if you are not able to do this yourself your chicks will be at risk.
No, we don’t recommend this, all breeds are different but for breeds like Silkies, Polish etc… you want them to be acclimated as quickly as possible and we find shutting them in a coop then opening up yet more areas to them really causes stress. We recommend with al birds popping them in the coop when they arrive with the door open to allow them to see outside and to see their feed and water. We do advise keeping them in a run for at least the first 2 weeks to ensure they don’t wonder off if you give them too much freedom too quickly.
If you keep chickens, there will almost certainly come a day when you look at one of your feathered friends and wonder how on earth they have got themselves so messy! Whether they have been dust bathing in the wrong place, paddling through something muddy, sitting in a mucky nest box or getting a bit grubby around the bottom, chickens do have a wonderful talent for finding mess.
But before you reach for the shampoo and start filling the tub, it is worth asking the big question: do chickens need washing?
Most of the time, the answer is no. Chickens are surprisingly good at keeping themselves clean. A healthy hen will preen her feathers, dust bathe regularly and use the oils from her preen gland to keep her plumage in good condition. Dust bathing might look like the opposite of washing to us, but for chickens it is one of the best ways to clean their feathers, remove excess oil and help keep external parasites at bay.
That said, there are times when a wash is helpful, and sometimes necessary. The trick is knowing when to leave your chicken to her natural routine, and when to step in with a little warm water and a calm pair of hands.
Do Chickens Need Washing?
Chickens do not need routine baths in the same way that some pets might. In fact, regular washing can strip natural oils from the feathers and may cause unnecessary stress. A chicken’s feathers are designed to protect her from the weather, help regulate temperature and keep her comfortable, so too much washing can do more harm than good.
However, a gentle wash can be useful if your chicken has:
- A very dirty bottom that could attract flies or cause soreness
- Muck stuck to her feathers that she cannot remove herself
- A sticky substance on her plumage
- Mess from a broken egg in the nest box
- Dirty feet or legs before treatment
- A build-up of droppings around the vent
- A special show or photo moment coming up
If your chicken is dirty because she is unwell, has diarrhoea, is hunched, off her food, losing weight or looking generally out of sorts, washing is not the full answer. In that case, it is important to look at the cause, not just the mess. A dirty bottom can sometimes be linked to diet, worms, stress, infection or another health issue, so keep a close eye on the rest of her behaviour.
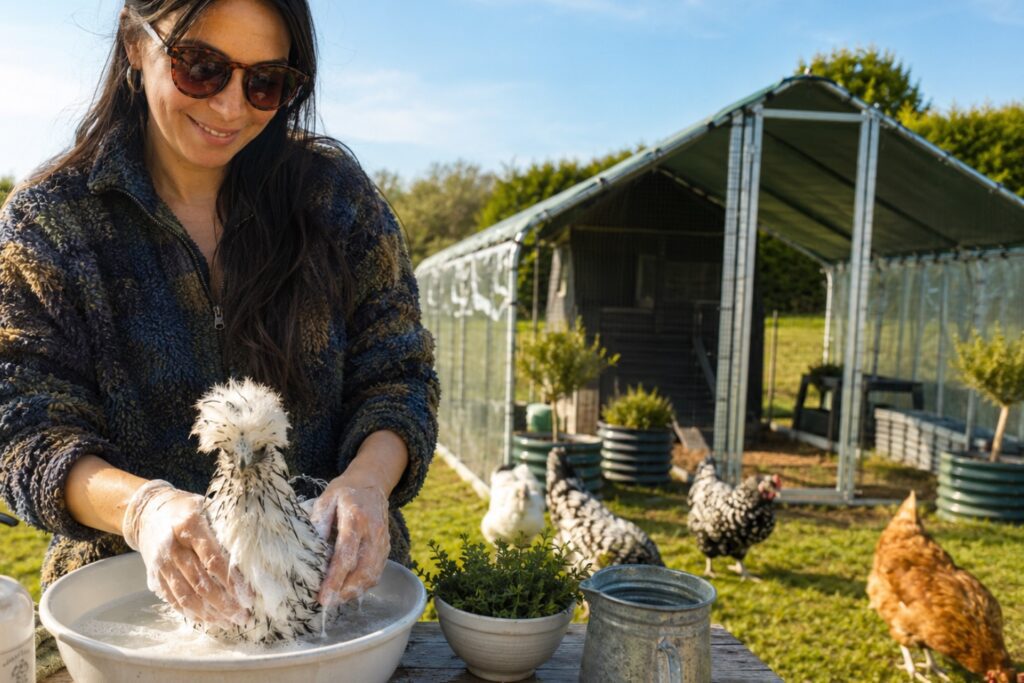
When Not To Wash A Chicken
There are times when washing a chicken is best avoided. Do not wash chickens in cold weather unless it is absolutely necessary and you can dry them fully indoors. Wet feathers can make chickens cold very quickly, especially bantams, older birds or hens that are already under the weather.
You should also avoid washing a chicken just because she has had a good dust bath and looks a little dusty. Dust bathing is normal chicken behaviour and should be encouraged. If your girls have a lovely dry dust bath area, they will usually do a brilliant job of keeping themselves clean.
Avoid washing young chicks unless there is a genuine welfare need. Chicks can become chilled very quickly and should never be soaked unnecessarily. A small localised clean with a warm damp cloth is usually safer if only a tiny area needs attention.
What You Need To Wash A Chicken
Before you begin, get everything ready. Once you have a wet chicken in your hands, you do not want to be dashing around looking for a towel.
You will need:
- A washing-up bowl, sink or shallow tub
- Warm water, not hot
- A gentle pet-safe or poultry-safe shampoo, if needed
- Clean towels
- A soft cloth or sponge
- A jug for rinsing
- A hairdryer on a low, warm setting, if your chicken is calm enough
- A warm indoor space for drying
A second person can also be very handy, especially if this is your first time washing a chicken. One person can hold and reassure your pet while the other does the cleaning.
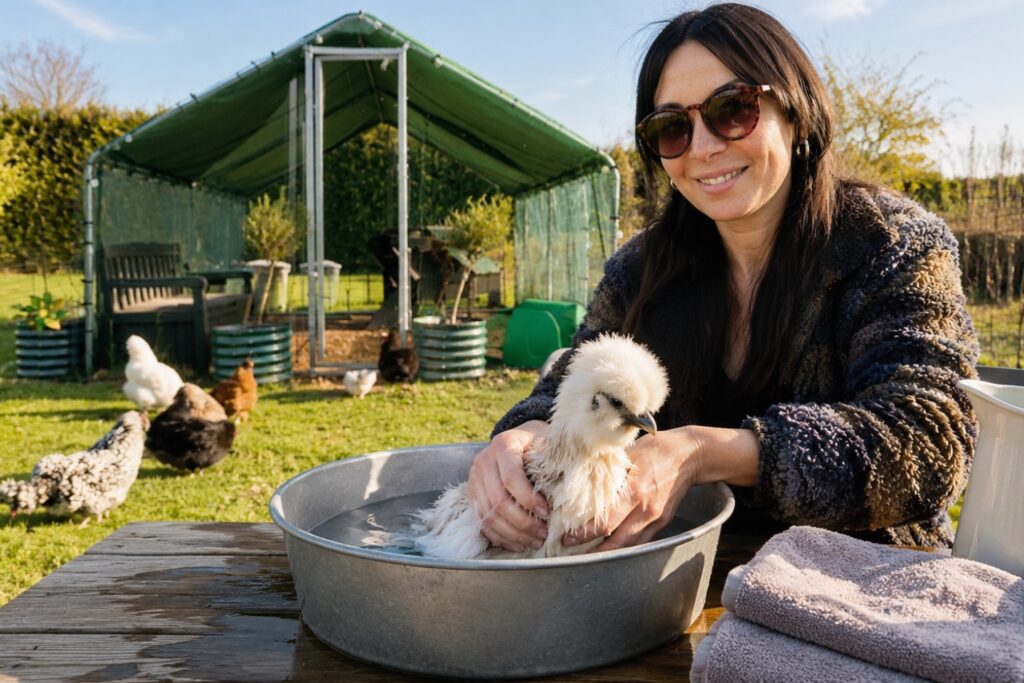
How To Wash Chickens Safely
Start by choosing a warm, quiet place. Chickens can be easily startled, so avoid loud noises, sudden movements or a slippery surface. Speak gently, move slowly and keep the whole process as calm as possible.
Fill your bowl or sink with a few inches of warm water. It should feel pleasantly warm to your hand, not hot. Gently lower your chicken into the water, supporting her body and keeping her wings close to her sides. Most chickens will settle if they feel secure.
You do not usually need to wash the whole chicken. In many cases, a “bum bath” is enough. This means only cleaning the dirty area around the vent and back feathers, rather than soaking the entire bird.
Use your hand, a soft cloth or sponge to loosen any dried-on mess. If droppings are stuck, give them time to soften rather than pulling at the feathers. Pulling can damage feathers and make the skin sore. A small amount of gentle shampoo can be used if needed, but plain warm water is often enough.
Be very careful around the vent area. Clean gently and avoid scrubbing. If the skin looks red, swollen, broken or very sore, it is worth seeking advice, especially if your hen seems uncomfortable or unwell.
Once the dirty area is clean, rinse thoroughly with warm water. Any leftover shampoo can irritate the skin, so make sure the water runs clear and the feathers feel clean.
Drying Your Chicken After A Wash
Drying is one of the most important parts of washing chickens. A damp chicken can become chilled quickly, even on a mild day.
Wrap your chicken in a clean towel and gently blot the feathers. Do not rub too roughly, as wet feathers are more delicate. Once the worst of the water has been absorbed, you can use a hairdryer on a low, warm setting if your chicken is calm and comfortable with the noise. Keep it moving and do not hold it too close to the skin.
Some chickens are very relaxed about being blow-dried. Others think the hairdryer is a terrifying farmyard monster and would rather not, thank you very much. If your chicken is frightened, stick to towel drying and keep her somewhere warm until she is fully dry.
Do not put a damp chicken back outside, especially in winter or on a windy day. Wait until she is completely dry before returning her to the flock.
How To Wash Chicken's Feet
Sometimes it is just the feet that need attention. Mud, droppings or bedding can get stuck around the toes, and feather-footed breeds can be especially good at collecting garden treasures.
To wash chicken feet, stand your hen in a shallow bowl of warm water and let the dirt soften. Gently clean around the toes with your fingers or a soft cloth. Avoid picking too firmly at any hard build-up, as you could damage the skin.
If you are checking for scaly leg mite, soreness, cuts or swelling, washing the legs first can help you see what is going on more clearly. Clean legs are also easier to treat with suitable products if treatment is needed.
Keeping Chickens Clean Naturally
The best way to keep chickens clean is not by washing them often, but by giving them the right environment. A dry, well-maintained coop and run will do far more for your flock than regular baths.
Make sure your chickens have:
- Clean, dry bedding in the coop
- Fresh nesting material
- Good ventilation without draughts
- A dry dust bath area
- Regular coop cleaning
- Access to clean water
- Suitable mite prevention and hygiene products
A muddy run is sometimes unavoidable in the UK, especially when the weather has been doing its finest impression of soup. Woodchip, covered run areas and good drainage can all help reduce mud and keep your chickens more comfortable.
Dust Baths Are A Chicken’s Favourite Spa Day
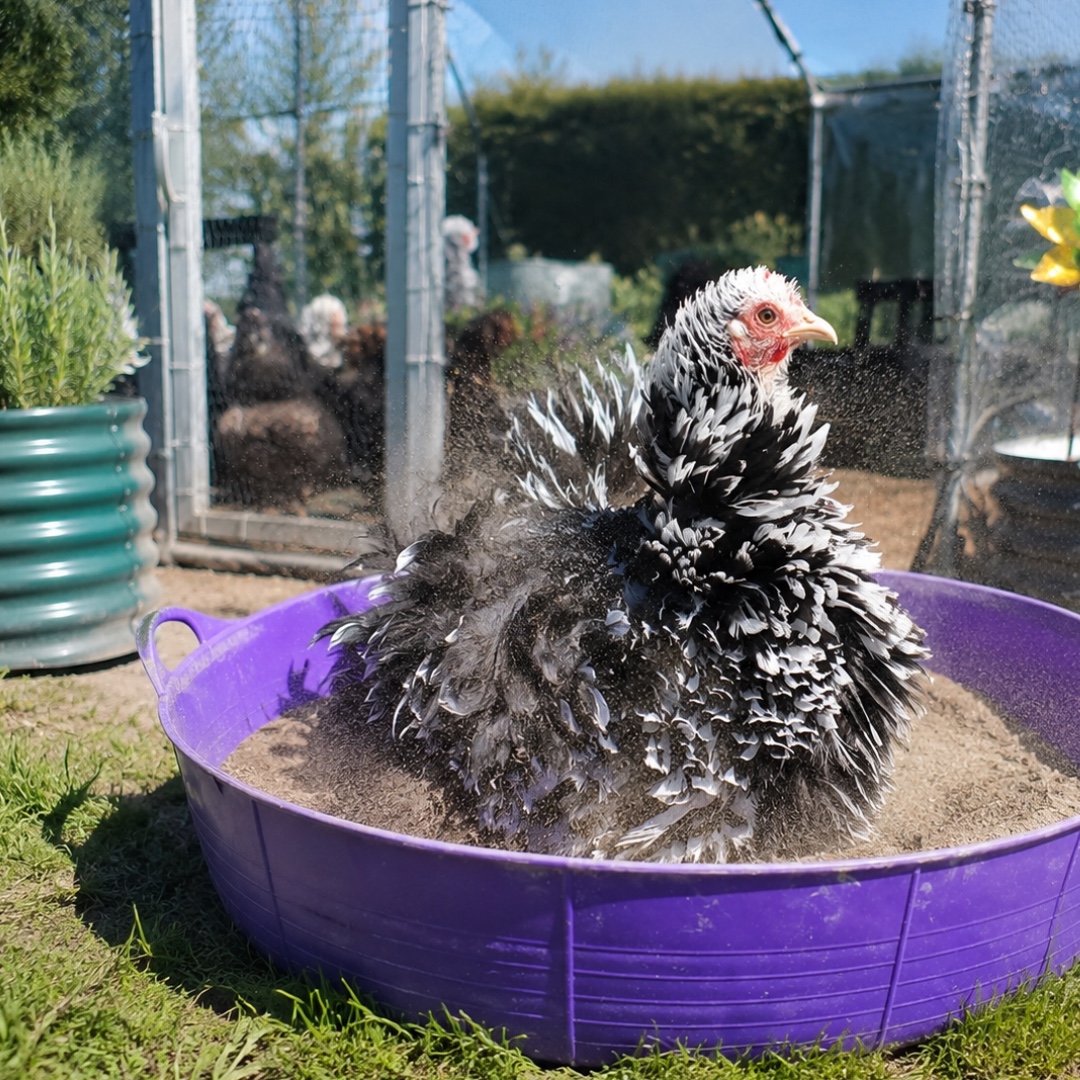
If you want cleaner chickens, one of the best things you can do is give them a proper dust bath. Chickens love to wriggle, roll, flap and shuffle in dry soil, sand or dust bath material. It helps them maintain their feathers and gives them something natural and enriching to do.
A good dust bath can be as simple as a dry patch under cover, a shallow tray or a corner of the run filled with suitable dry material. Keep it sheltered from rain where possible, because a soggy dust bath is just a mud puddle with big dreams.
Do Show Chickens Need Washing?
If you are preparing chickens for a show, you may need to wash them more carefully, especially white or pale-feathered birds. Show birds are often washed a few days before the event, giving their feathers time to settle back into place naturally.
For everyday back garden chickens, though, show-level grooming is not needed. A clean coop, a good dust bath and the occasional targeted wash when necessary will usually be more than enough.
A Quick Word On Flystrike
One of the most important reasons to keep a chicken’s bottom clean is to reduce the risk of flystrike. This is when flies lay eggs on dirty or damp feathers, usually around the vent area. The eggs hatch into maggots, which can cause serious harm very quickly.
Flystrike is more likely in warm weather, especially if a chicken has a dirty bottom, loose droppings or an underlying health problem. If you notice maggots, a strong smell, wounds, lethargy or a hen that seems very poorly, treat it as urgent and seek veterinary advice straight away.
Keeping the vent area clean, checking your flock regularly and dealing with messy feathers promptly can make a big difference.
So, How Often Should You Wash Chickens?
As little as possible. Chickens are not meant to be bathed every week, and most will go their whole lives without needing a full wash. Think of washing as a useful tool for occasional problems, not part of a normal grooming routine.
A quick bottom clean, foot wash or localised rinse is usually better than a full bath. Keep it gentle, keep it warm and only do what is needed.
Happy, Healthy Hens With Pipinchick
At Pipinchick, we know that chicken keeping is full of funny little moments, from glamorous dust baths to muddy feet and the occasional hen who looks like she has rolled through half the garden. Most of the time, your chickens will keep themselves beautifully clean with a good dust bath, fresh bedding and a well-kept coop.
When they do need a helping hand, a gentle wash can make them more comfortable and help prevent bigger problems. The key is to wash only when necessary, dry them properly and always keep an eye on why they became dirty in the first place.
From bedding and disinfectants to mite treatments, supplements, tonics, enrichment and chicken house accessories, Pipinchick has plenty of practical products to help you keep your flock clean, healthy and happy, without turning bath time into a full farmyard drama.
We sell chickens online, which are reared from birth on our farm in the beautiful Somerset countryside, near Bristol. We deliver happy, healthy hens, direct to your door.
Yes, we actually find some breeds really enjoy a nice bath and blow dry, in particular Silkies, we advise giving your hens a wash if they have become quite dirty. You can use an herbal shampoo or a pet friendly shampoo, make sure you rinse the soap out fully and then towel and blow dry your hens so they are completely dry before putting them back outside.
We have a saying here on the farm, 'prevention is key'. When it comes to keeping chickens, a clean coop is one of the simplest and most important ways to keep your flock happy, healthy and comfortable. Chickens are hardy little characters, but even the most cheerful hen will not thank you for a damp, smelly or mucky house.
A well-kept chicken coop helps reduce smells, discourages pests, keeps bedding dry and makes life much nicer for both you and your birds. It also gives you a chance to spot any signs of mites, damp patches, damaged perches, broken nest boxes or other little problems before they turn into bigger ones.
The good news is that keeping a chicken coop clean does not need to be complicated. With a simple routine, the right cleaning products and a bit of elbow grease, your coop can stay fresh, hygienic and ready for all those busy mornings of clucking, scratching, egg laying and general feathery chaos.
Why A Clean Chicken Coop Matters
Chickens spend a lot of time in and around their coop. They sleep there, lay eggs there, shelter there and, because they are chickens, they also poo there. Quite a lot, actually.
Droppings, damp bedding and old nesting material can quickly create an unhealthy environment if left too long. A dirty chicken house can attract flies, encourage bacteria and create unpleasant smells. It can also make it easier for mites and other pests to hide in cracks, corners and joins.
Regular cleaning helps keep your flock more comfortable and reduces the risk of common coop problems. It is not about making the house look showroom-perfect every day, because chickens would undo that in around seven minutes. It is about keeping the environment dry, fresh and hygienic enough for your hens to live well.
How Often Should You Clean A Chicken Coop?
A proper deep clean should be done around once every three months. This means removing old bedding, washing the coop thoroughly, getting into the cracks and crevices, rinsing, disinfecting and then adding fresh bedding once everything is dry.
Between deep cleans, you should keep on top of smaller jobs. Take out droppings regularly, remove any wet or dirty bedding and freshen nesting areas as needed. In wet weather, winter months or if you have a larger flock, you may need to do this more often.
A simple routine could look like this:
- Daily or every few days, remove obvious droppings and check bedding
- Weekly, freshen nest boxes and remove any damp areas
- Every three months, carry out a full wash and disinfect
You may need to adjust this depending on the size of your coop, the number of hens you keep, the weather and how much time your chickens spend inside. A small coop with several busy hens will need attention more often than a larger, well-ventilated house with fewer birds.
What You Need To Clean A Chicken Coop
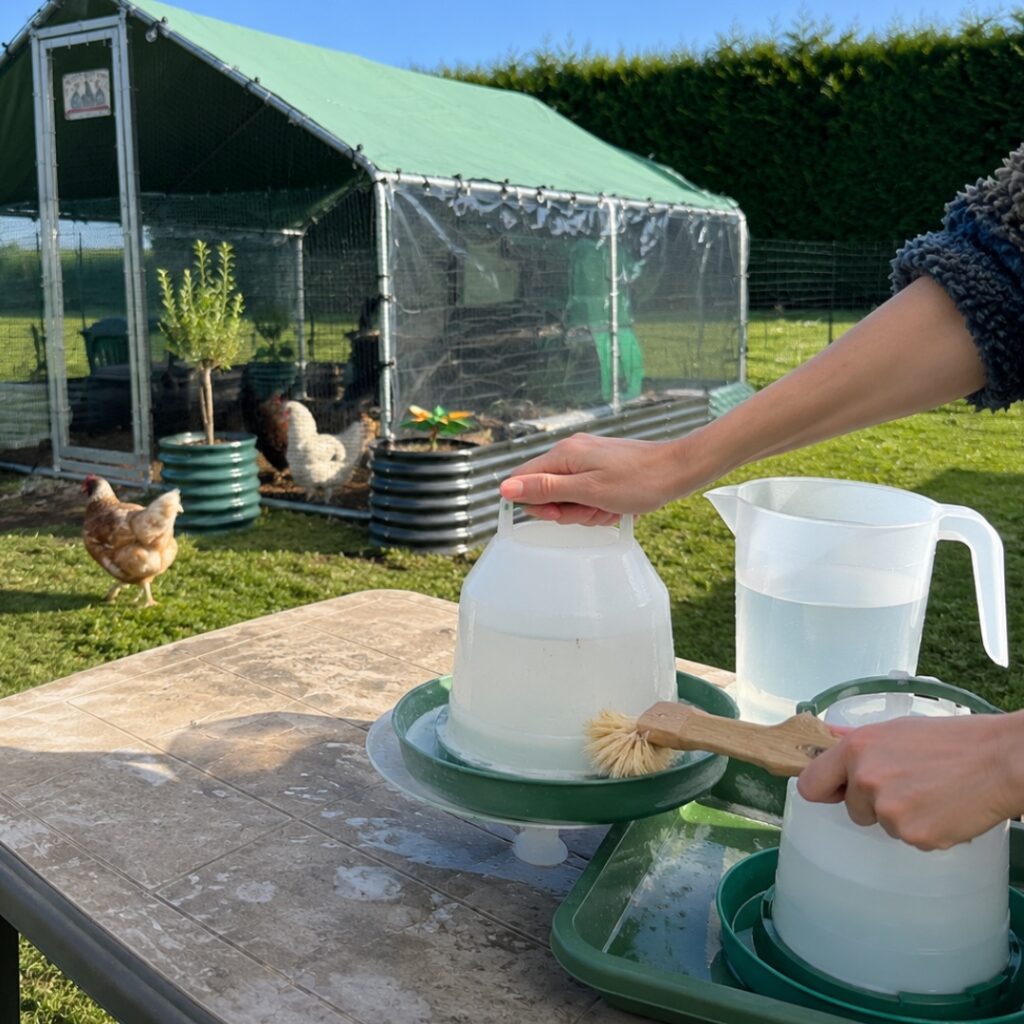
Before you begin, gather everything you need. Chicken coop cleaning is much easier when you are not halfway through the job and suddenly hunting for a scrubbing brush while wearing one glove and questioning your life choices.
You will need:
Poultry Shield cleaner or another suitable poultry-safe concentrated cleaner
Hot water
- A bucket
- A scrubbing brush
- A hose for rinsing
- Virkon S disinfectant
- A garden sprayer
- Fresh bedding
- Gloves and practical clothing
- A dry day, (if possible!)
Using the right products matters. A proper poultry cleaner helps break down muck and residue, while a disinfectant such as Virkon S helps sanitise the coop afterwards. Cleaning and disinfecting are not quite the same thing, so it is best to do both. Clean first to remove the dirt, then disinfect afterwards.
Step One: Remove The Chickens And Bedding
Start by moving your chickens safely out of the coop. If they have a secure run, let them potter about outside while you work. They may supervise from a safe distance, offer strong opinions and occasionally try to stand exactly where you need to be, because that is very much their style.
Remove all old bedding from the coop and nest boxes. Scrape out any built-up droppings and take out loose dirt, feathers and debris. Pay special attention to corners, under perches and inside nest boxes, as these are the areas where mess tends to build up.
This is also a good time to check the structure of the coop. Look for loose fittings, damaged areas, damp patches or gaps where pests might hide.
Step Two: Wash With Poultry Shield Cleaner
Once the bedding and loose muck have been removed, it is time to wash the coop. Mix your Poultry Shield cleaner with hot water according to the instructions on the product. A concentrated cleaner is ideal because it can be properly diluted and worked into the surfaces.
Use a scrubbing brush to really get into the coop. Do not just wipe the easy bits and call it done. The important areas are often the awkward ones, including cracks, crevices, corners, perch ends, nest box joins and any little seams where dirt or pests can hide.
Scrub inside the coop thoroughly. If your chicken house has removable perches, trays or nest box parts, take them out and clean them separately. This will make the job easier and give you a much better clean.
Once you have scrubbed everything properly, rinse the coop with a hose. Make sure any cleaner and loosened dirt are washed away before you move on to disinfecting.
Step Three: Disinfect With Virkon S
After washing and rinsing, the next step is disinfecting. Virkon S is a popular disinfectant for poultry housing and should be diluted in water according to the manufacturer’s instructions.
Once mixed correctly, add the solution to a garden sprayer. Spray liberally inside and outside the coop, making sure you cover the main surfaces as well as the fiddly bits where problems can hide. Focus on perches, corners, nest boxes, joins, door frames and any areas where droppings or damp bedding have been sitting.
Always follow the product instructions carefully, including dilution rates and safety guidance. More is not always better when it comes to disinfectant. The right dilution used properly is what matters.
Step Four: Let The Coop Dry
Once the coop has been cleaned, rinsed and disinfected, let it dry fully before adding fresh bedding. This is important because putting bedding into a damp coop can create the very environment you have just worked hard to avoid.
A dry day is ideal, especially if you can leave doors, lids or access panels open to allow air to circulate. Good ventilation helps the coop dry faster and keeps it fresher in everyday use.
Do not rush this stage. Fresh bedding in a clean, dry coop is lovely. Fresh bedding in a wet coop is just a soggy mattress for chickens, and nobody wants that.
Step Five: Add Fresh Bedding
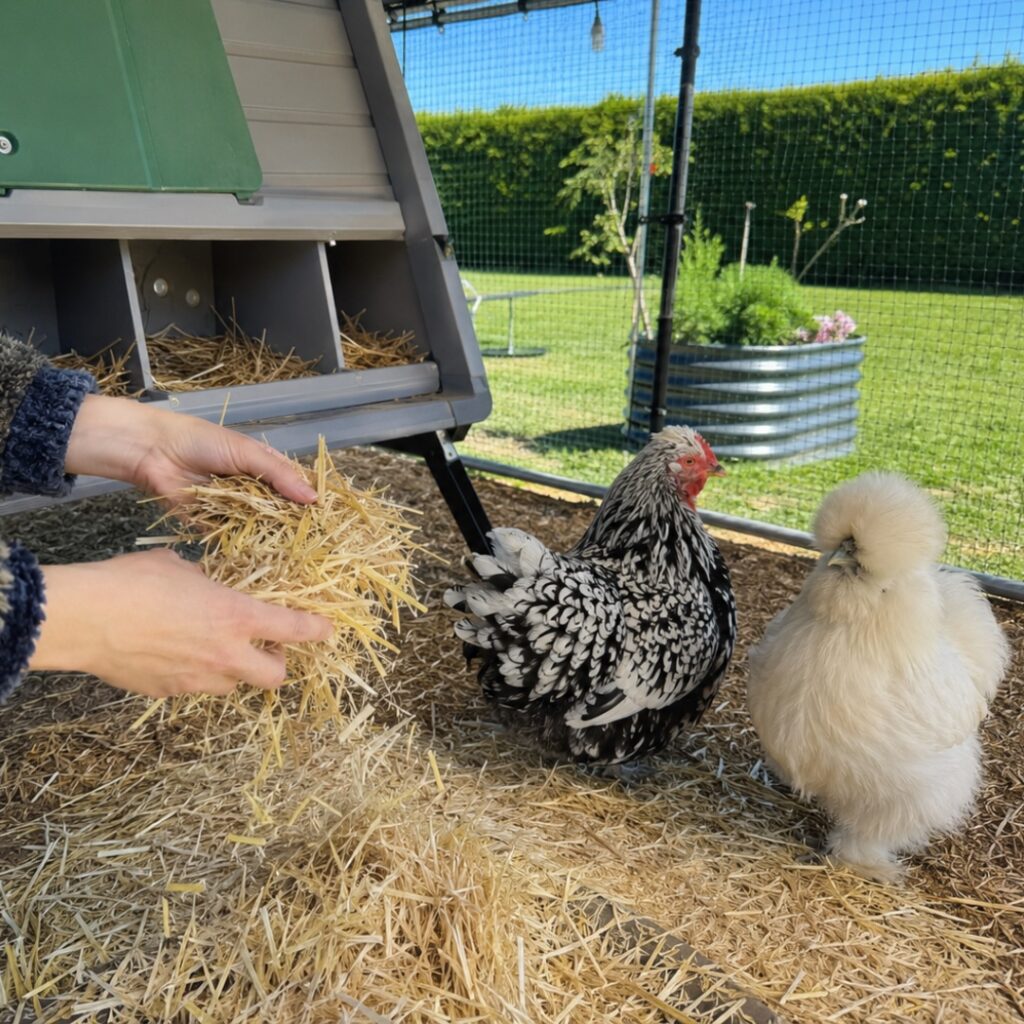
Once everything is completely dry, add fresh bedding to the coop and nest boxes. Make sure the bedding is clean, dry and suitable for poultry.
Fresh bedding helps keep the coop comfortable, absorbs moisture and gives your hens a cosy place to settle at night or lay their eggs. Keep an eye on bedding between deep cleans, especially in the nesting areas. If it becomes dirty, wet or flattened, remove and replace it as needed.
A clean coop with fresh bedding is one of those smallholder joys. The hens will march in, rearrange everything immediately and act as though they were personally in charge of the design.
How To Keep The Coop Fresh Between Deep Cleans
Deep cleaning every three months is important, but the little jobs in between make a big difference. You do not want to leave everything untouched for three months and then face a coop that looks like it has hosted a poultry festival.
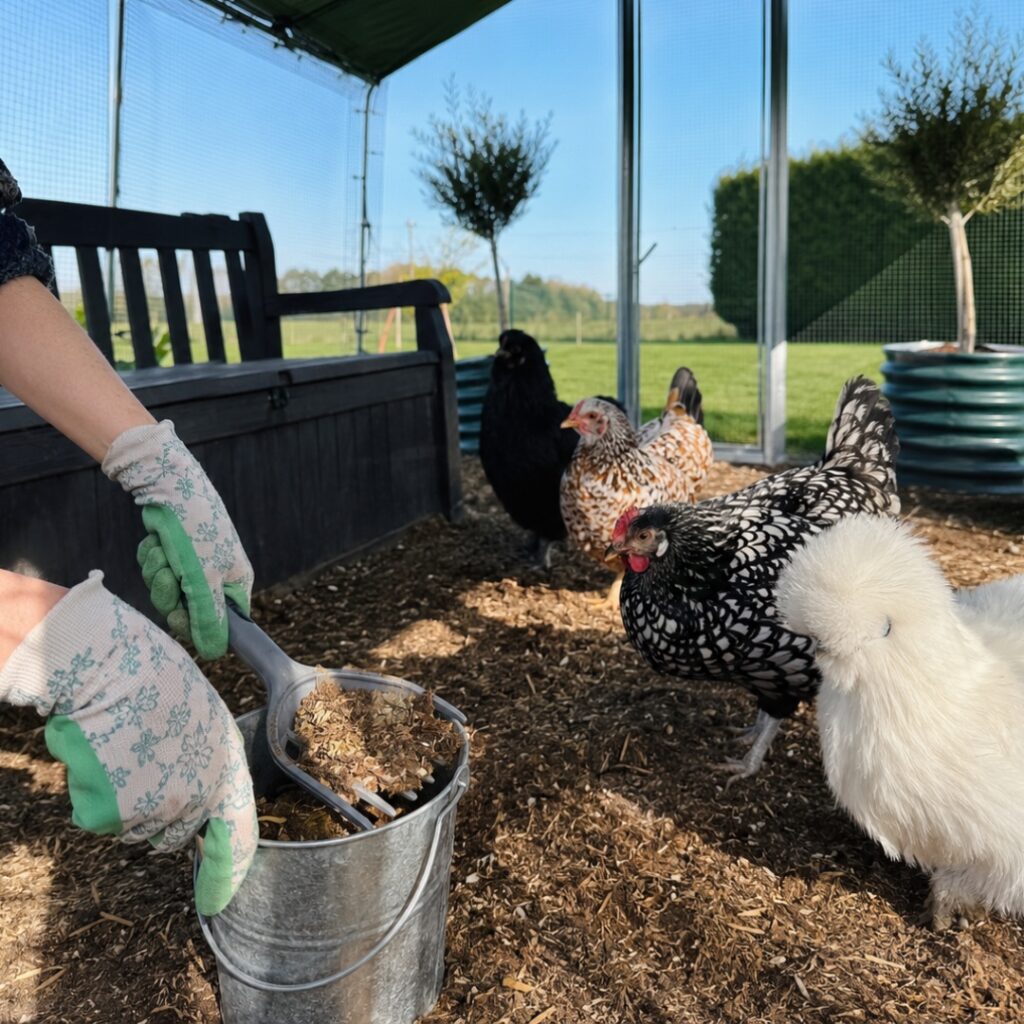
Between deep cleans, remove droppings when you see them. Pay attention to perches and the bedding underneath, as chickens do most of their pooing while they sleep. If your coop has a removable tray, this can make regular cleaning much quicker.
Freshen the bedding as needed. If the bedding is still clean and dry, you may only need to top it up. If it is wet, dirty or smelly, take it out and replace it. Nest boxes should be kept especially clean, as this helps keep eggs cleaner too.
Good airflow is also important. A coop needs ventilation to reduce moisture and smells, but it should not be draughty around the roosting area. Dampness is often more of a problem than cold for chickens, so keeping the house dry and well ventilated is key.
Watch Out For Red Mite
When cleaning your coop, take the opportunity to check for red mite. These tiny pests hide in cracks and crevices during the day and come out at night to feed on chickens. They can make hens uncomfortable, reduce laying and cause real problems if left untreated.
Look around perch ends, joins, corners, roof gaps and nest boxes. You may see tiny grey or red mites, staining, clusters of dirt-like specks or hens becoming reluctant to go into the coop at night.
Regular cleaning with a suitable poultry cleaner, followed by disinfecting and using appropriate mite prevention or treatment products, can help you stay on top of the problem. Getting into the cracks and crevices of the coop is especially important because that is exactly where mites like to hide.
Keep Food And Water Areas Clean Too
A clean coop is only part of the picture. Feeders and drinkers also need regular attention. Dirty water can quickly become unpleasant, especially in warm weather, and feed can attract pests if it is left to spill or go stale.
Keep drinkers clean and topped up with fresh water. Wash feeders as needed and try to avoid leaving piles of feed on the ground. If your hens are enthusiastic scratchers, and most are, they may scatter feed around for fun. Using suitable feeders can help reduce waste and keep the area tidier.
A clean feeding area supports the same goal as a clean coop, a healthier, happier flock.
Cleaning Wooden Vs Plastic Chicken Coops
The same basic cleaning routine applies to most chicken coops, but the material can make a difference.
Wooden coops can have more cracks, joins and grain where dirt and mites can hide, so they need thorough scrubbing and regular checks. Make sure wooden houses dry fully after washing, as damp wood can become a problem.
Plastic coops are often easier to wash down and dry, but they still need proper cleaning. Dirt can still collect around fittings, nest boxes, perches and door edges, so do not skip the detail work.
Whatever type of coop you have, the golden rule is the same: remove muck, wash thoroughly, rinse, disinfect, dry and add fresh bedding.
You can read more about the differences between plastic and wooden hen houses here.
A Simple Coop Cleaning Routine For Happy Hens
Keeping your chicken coop clean does not need to be fancy. It just needs to be regular and thorough.
Every few days, remove obvious droppings and check for wet bedding. Each week, freshen nest boxes and look over the coop for smells, damp or signs of pests. Every three months, give the coop a proper deep clean using Poultry Shield cleaner, hot water and a scrubbing brush, then rinse with a hose and disinfect with Virkon S using a garden sprayer. Once everything is dry, add fresh bedding and let your hens enjoy their clean little house.
It is not the most glamorous job in the world, but it is one of the best things you can do for your flock. And there is something very satisfying about seeing a clean coop, fresh bedding and hens clucking around as if they have just checked into a five-star poultry retreat.
Keep Your Coop Sparking Clean With Products from Pipinchick!
At Pipinchick, we know that healthy chickens start with good husbandry. A clean coop helps protect your flock, keeps your hens comfortable and makes chicken keeping much more enjoyable for everyone involved.
With regular cleaning, Poultry Shield cleaner, Virkon S disinfectant, fresh bedding and a simple routine, you can keep your chicken house fresh, hygienic and ready for all the daily bustle of flock life. Clean out the droppings, keep bedding dry, give the coop a proper deep clean every three months and stay one step ahead of pests.
Your hens may not be able to squawk "thank you!", but they will certainly enjoy a clean, dry and cosy place to roost.
It’s essential to offer lots of run space with plenty of enrichment. It doesn’t have to be expensive or complicated, you can use items from around your home and garden to create lots of fun and entertainment for your chickens.
Here are 10 easy run enrichment ideas.
- Create a dust bath. Cover a section of your run to keep out the rain and create a dust bath, you can use old tubs, sinks and even tyres. Fill them with kiln dried sand and DE powder, this will allow your hens to bathe in the sand and offers a natural boredom buster and mite prevention, it also encourages natural social behaviours and allows your hens to feel happy. Some chickens will prefer it if you sink the bath into the ground so it is flush to the ground level, some hens will not want to climb into it.
- Make a jungle-gym. Using old pieces of wood, logs and branches you can create climbing frames, perches etc… flight chickens in particular love to climb, perch and be up high, if you have a walk-in run you can utilise the vertical spaces by creating high ledges and perches. If you have flightless chickens you can use log rounds and branches to create jungle-gyms and climbing frames, you can also have areas underneath for cover and tunnels, they love this kind of enrichment as it’s natural and fun. Make sure you disinfect the wood before using and spray often with disinfectant and cleaners.
- Pecking blocks and fat balls are a great inexpensive run enricher, you can buy these and hang them in the run or you can make them at home with coconut oil and a mix of corn, grains, seeds, herbs etc... They are very high in fat so only offer these every now and then.
- Healthy Veggies, chickens love veggies and fruits, you can make fruit kebab sticks and hang them from your run, you can use a mix of apples, cucumber, cabbage, strawberries, melon etc…
- Bales of wood shavings. Simply opening a fresh bale of wood chippings or shavings and leaving it in the middle of the run offers hours of entertainment, the chickens will climb on it and slowly start to forage it down and spread it around the run. You can also put live mealworms in and around the bale, this adds another level of fun to their foraging as they hunt for the grubs and will be good for them too.
- Create a swing. Flight birds will love this, we have even known Silkies to get involved with ones hung low to the ground. Very easy to make, you get a solid stick or branch and hang from inside the run with string or wire. Could not be easier and they really enjoy it. Again, with natural wood ensure you disinfect it thoroughly before adding to your run and clean regularly.
- Mirrors. By simply adding a mirror to your run you can offer enrichment, chickens can see their own reflections and find the light reflections from a mirror or shiny surface fascinating. If you don’t have a mirror, try hanging old CDs around the run.
- Bells. Hang small bells close to the ground, chickens love making them ding and will peck at them, this is a great way to relieve run boredom.
- Create an area for foraging. Chickens love to forage, it is not only good for their wellbeing as it promotes natural behaviours and communal behaviours, it also has benefits for their health. Chickens need a certain amount of grit in their diet to enable them to digest their feed properly, by creating an area within your run for foraging you will allow them to display this natural behaviour and it’s a great way to offer grit. Dig a section of your run and lay in it loads of gravel, bark and grit, it should be about 6-10 inches deep. You can then sprinkle into this area treats like corn, live grubs etc… this will encourage them to forage in it. It is also a great way for your hens to keep their beaks and toe nails trimmed naturally.
- Nesting boxes, chickens like to have areas where they can lay eggs safely, if you have a large run and a smaller house you may only have 2-3 nesting areas within your house, offering your chickens additional nesting areas will help egg production and also keep them happy, they will pop in and out of the extra boxes throughout the day and may even sit in them for shelter from the elements, it’s a very easy way to add a little extra enrichment to your run area.
You can mix up the enrichment by alternating the smaller ideas, this means they will have new things to look at, explore and do every time you switch one out for another.
Maintaining a bio secure area can prevent transmission of disease and viruses to your hens. Although some viruses are airborne most can be prevented by keeping a clean disinfected area. We recommend using Virkon S, this is a powdered disinfectant that you add to water, please make sure you dilute according to the quantities recommended by the manufacturer so as to kill the right bacteria, viruses.
Most flight chickens will roost and perch and you should provide a roosting bar for night time rooting. For bantams use a thinner doweling for roosting, if you use a thick piece of wood that is too flat and wide their little feet can’t grasp it properly and this can cause long term damage to their feet and possible lameness over time. Most flightless birds like Silkies, Brahma, Cochin etc… have no natural inclination to be up high and will happily sleep on the floor of the coop and as a rule do not need a roosting bar.