


How Can I Keep My Chicken Coop Clean?
We have a saying here on the farm, 'prevention is key'. When it comes to keeping chickens, a clean coop is one of the simplest and most important ways to keep your flock happy, healthy and comfortable. Chickens are hardy little characters, but even the most cheerful hen will not thank you for a damp, smelly or mucky house.
A well-kept chicken coop helps reduce smells, discourages pests, keeps bedding dry and makes life much nicer for both you and your birds. It also gives you a chance to spot any signs of mites, damp patches, damaged perches, broken nest boxes or other little problems before they turn into bigger ones.
The good news is that keeping a chicken coop clean does not need to be complicated. With a simple routine, the right cleaning products and a bit of elbow grease, your coop can stay fresh, hygienic and ready for all those busy mornings of clucking, scratching, egg laying and general feathery chaos.
Why A Clean Chicken Coop Matters
Chickens spend a lot of time in and around their coop. They sleep there, lay eggs there, shelter there and, because they are chickens, they also poo there. Quite a lot, actually.
Droppings, damp bedding and old nesting material can quickly create an unhealthy environment if left too long. A dirty chicken house can attract flies, encourage bacteria and create unpleasant smells. It can also make it easier for mites and other pests to hide in cracks, corners and joins.
Regular cleaning helps keep your flock more comfortable and reduces the risk of common coop problems. It is not about making the house look showroom-perfect every day, because chickens would undo that in around seven minutes. It is about keeping the environment dry, fresh and hygienic enough for your hens to live well.
How Often Should You Clean A Chicken Coop?
A proper deep clean should be done around once every three months. This means removing old bedding, washing the coop thoroughly, getting into the cracks and crevices, rinsing, disinfecting and then adding fresh bedding once everything is dry.
Between deep cleans, you should keep on top of smaller jobs. Take out droppings regularly, remove any wet or dirty bedding and freshen nesting areas as needed. In wet weather, winter months or if you have a larger flock, you may need to do this more often.
A simple routine could look like this:
- Daily or every few days, remove obvious droppings and check bedding
- Weekly, freshen nest boxes and remove any damp areas
- Every three months, carry out a full wash and disinfect
You may need to adjust this depending on the size of your coop, the number of hens you keep, the weather and how much time your chickens spend inside. A small coop with several busy hens will need attention more often than a larger, well-ventilated house with fewer birds.
What You Need To Clean A Chicken Coop
Before you begin, gather everything you need. Chicken coop cleaning is much easier when you are not halfway through the job and suddenly hunting for a scrubbing brush while wearing one glove and questioning your life choices.
You will need:
Poultry Shield cleaner or another suitable poultry-safe concentrated cleaner
Hot water
- A bucket
- A scrubbing brush
- A hose for rinsing
- Virkon S disinfectant
- A garden sprayer
- Fresh bedding
- Gloves and practical clothing
- A dry day, (if possible!)
Using the right products matters. A proper poultry cleaner helps break down muck and residue, while a disinfectant such as Virkon S helps sanitise the coop afterwards. Cleaning and disinfecting are not quite the same thing, so it is best to do both. Clean first to remove the dirt, then disinfect afterwards.
Step One: Remove The Chickens And Bedding
Start by moving your chickens safely out of the coop. If they have a secure run, let them potter about outside while you work. They may supervise from a safe distance, offer strong opinions and occasionally try to stand exactly where you need to be, because that is very much their style.
Remove all old bedding from the coop and nest boxes. Scrape out any built-up droppings and take out loose dirt, feathers and debris. Pay special attention to corners, under perches and inside nest boxes, as these are the areas where mess tends to build up.
This is also a good time to check the structure of the coop. Look for loose fittings, damaged areas, damp patches or gaps where pests might hide.
Step Two: Wash With Poultry Shield Cleaner
Once the bedding and loose muck have been removed, it is time to wash the coop. Mix your Poultry Shield cleaner with hot water according to the instructions on the product. A concentrated cleaner is ideal because it can be properly diluted and worked into the surfaces.
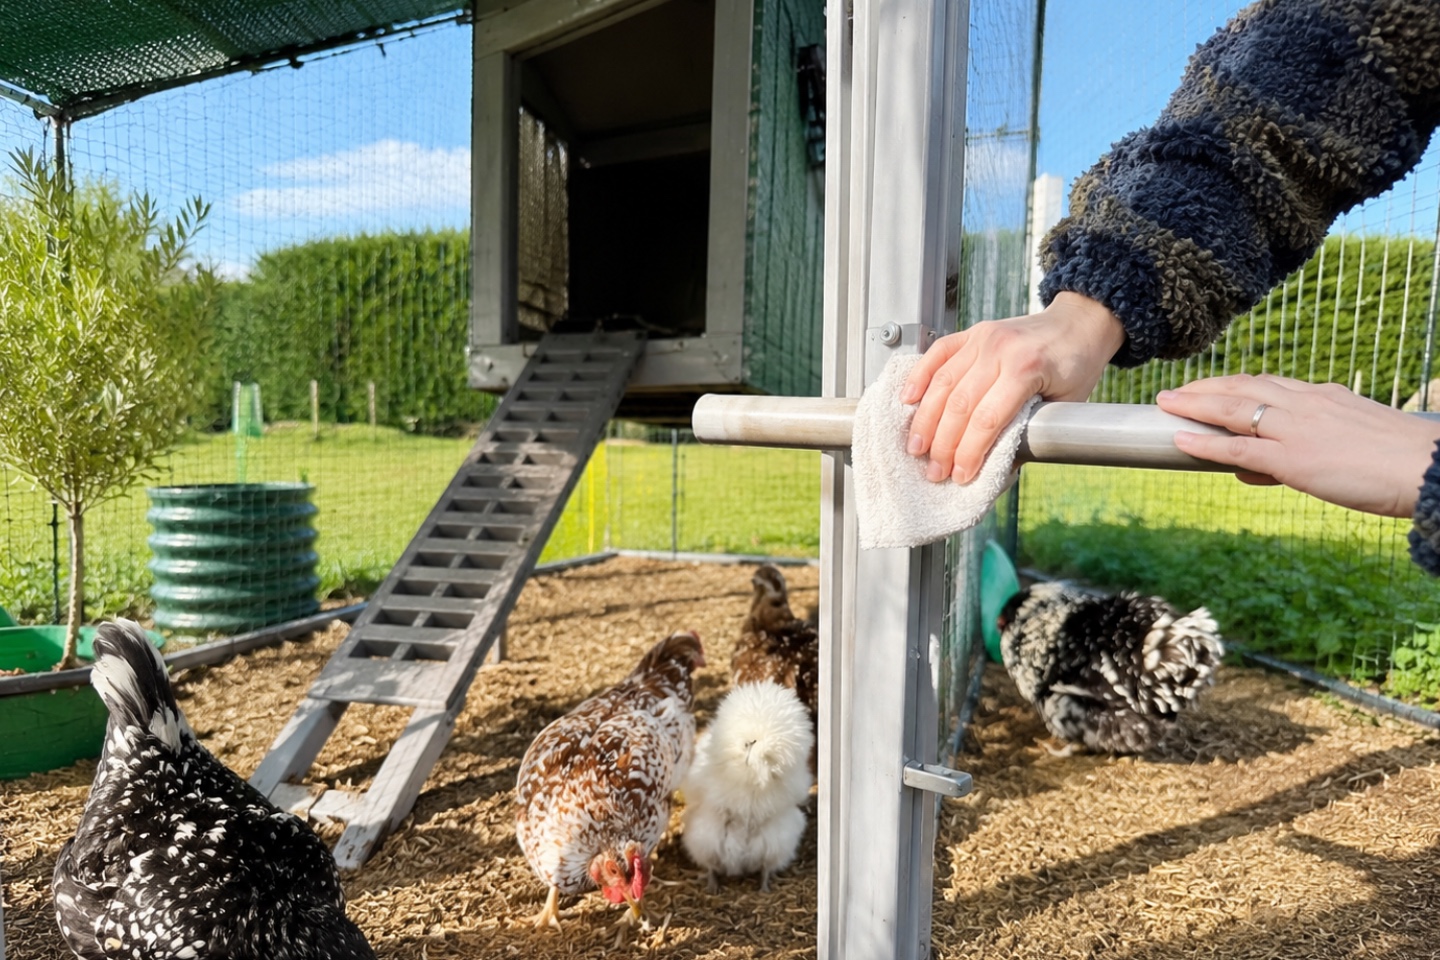
Use a scrubbing brush to really get into the coop. Do not just wipe the easy bits and call it done. The important areas are often the awkward ones, including cracks, crevices, corners, perch ends, nest box joins and any little seams where dirt or pests can hide.
Scrub inside the coop thoroughly. If your chicken house has removable perches, trays or nest box parts, take them out and clean them separately. This will make the job easier and give you a much better clean.
Once you have scrubbed everything properly, rinse the coop with a hose. Make sure any cleaner and loosened dirt are washed away before you move on to disinfecting.
Step Three: Disinfect With Virkon S
After washing and rinsing, the next step is disinfecting. Virkon S is a popular disinfectant for poultry housing and should be diluted in water according to the manufacturer’s instructions.
Once mixed correctly, add the solution to a garden sprayer. Spray liberally inside and outside the coop, making sure you cover the main surfaces as well as the fiddly bits where problems can hide. Focus on perches, corners, nest boxes, joins, door frames and any areas where droppings or damp bedding have been sitting.
Always follow the product instructions carefully, including dilution rates and safety guidance. More is not always better when it comes to disinfectant. The right dilution used properly is what matters.
Step Four: Let The Coop Dry
Once the coop has been cleaned, rinsed and disinfected, let it dry fully before adding fresh bedding. This is important because putting bedding into a damp coop can create the very environment you have just worked hard to avoid.
A dry day is ideal, especially if you can leave doors, lids or access panels open to allow air to circulate. Good ventilation helps the coop dry faster and keeps it fresher in everyday use.
Do not rush this stage. Fresh bedding in a clean, dry coop is lovely. Fresh bedding in a wet coop is just a soggy mattress for chickens, and nobody wants that.
Step Five: Add Fresh Bedding
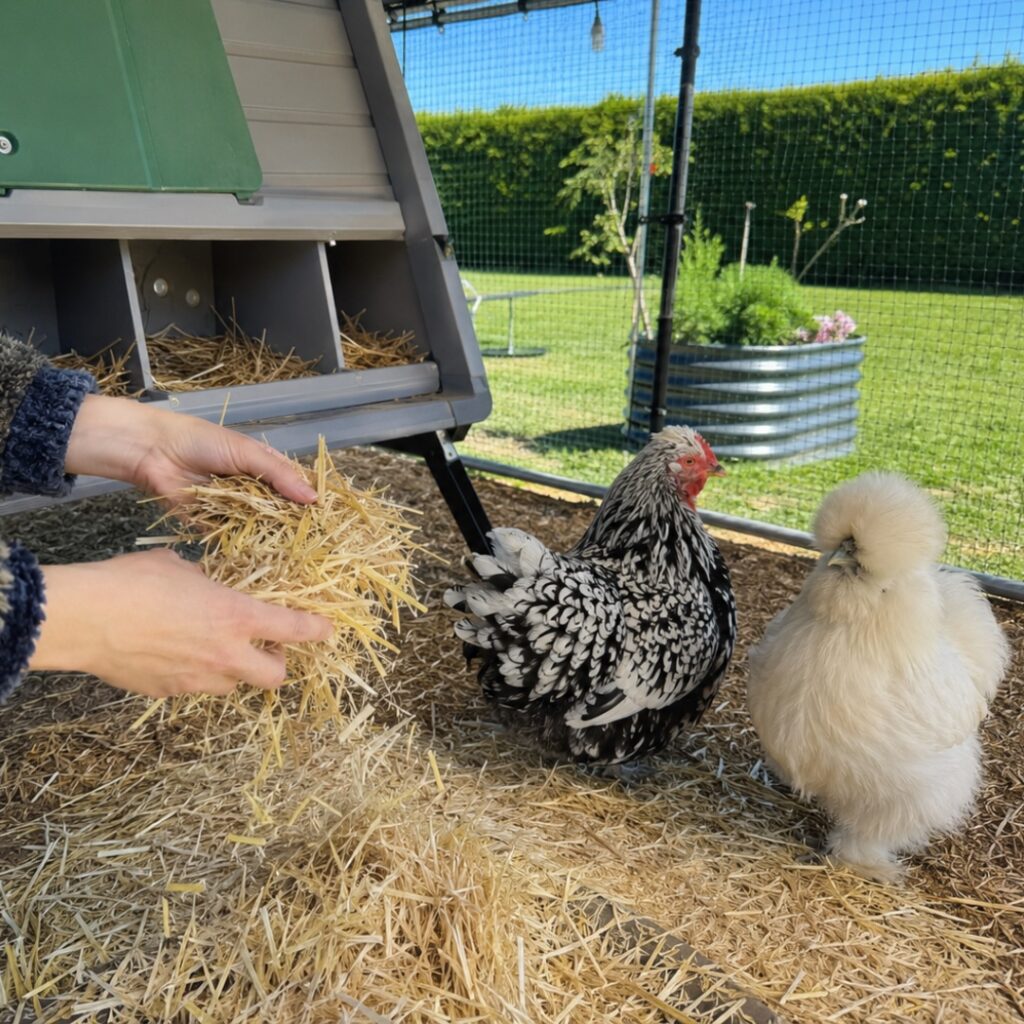
Once everything is completely dry, add fresh bedding to the coop and nest boxes. Make sure the bedding is clean, dry and suitable for poultry.
Fresh bedding helps keep the coop comfortable, absorbs moisture and gives your hens a cosy place to settle at night or lay their eggs. Keep an eye on bedding between deep cleans, especially in the nesting areas. If it becomes dirty, wet or flattened, remove and replace it as needed.
A clean coop with fresh bedding is one of those smallholder joys. The hens will march in, rearrange everything immediately and act as though they were personally in charge of the design.
How To Keep The Coop Fresh Between Deep Cleans
Deep cleaning every three months is important, but the little jobs in between make a big difference. You do not want to leave everything untouched for three months and then face a coop that looks like it has hosted a poultry festival.
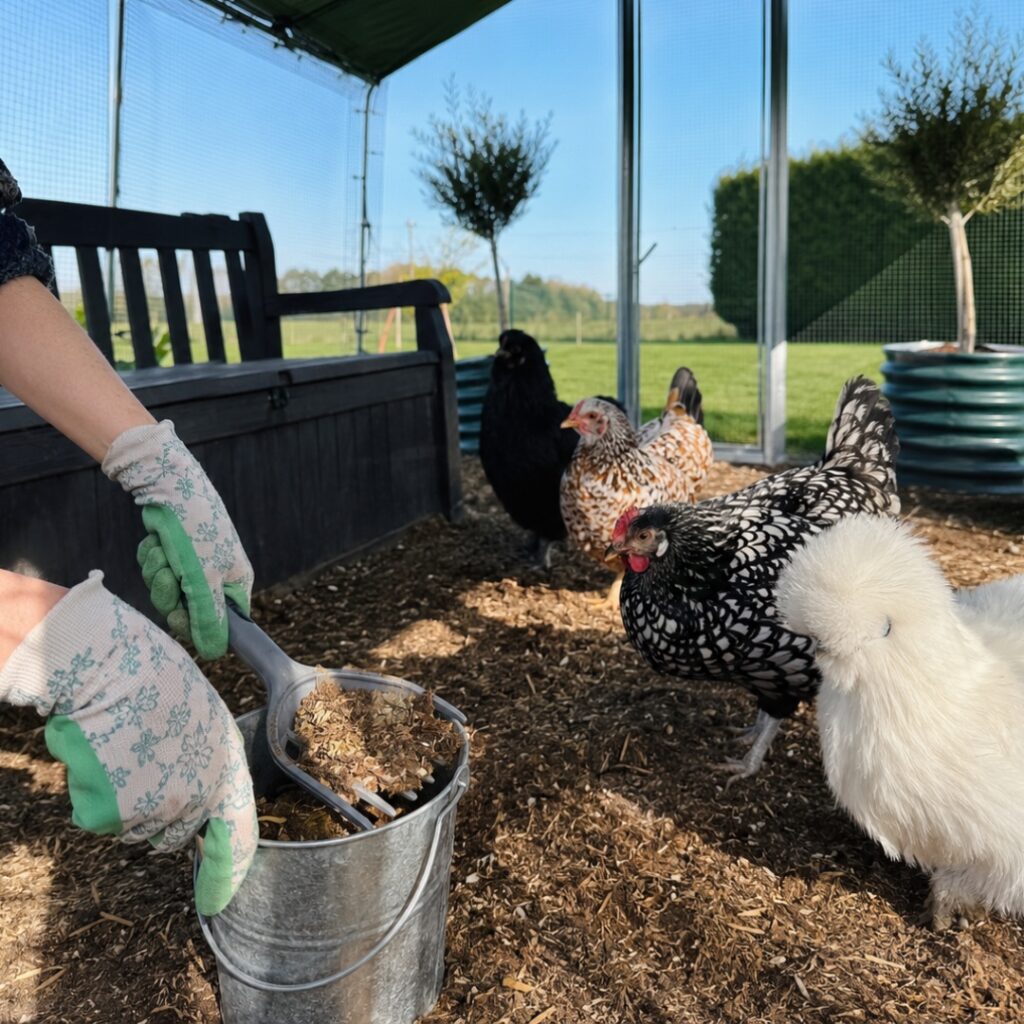
Between deep cleans, remove droppings when you see them. Pay attention to perches and the bedding underneath, as chickens do most of their pooing while they sleep. If your coop has a removable tray, this can make regular cleaning much quicker.
Freshen the bedding as needed. If the bedding is still clean and dry, you may only need to top it up. If it is wet, dirty or smelly, take it out and replace it. Nest boxes should be kept especially clean, as this helps keep eggs cleaner too.
Good airflow is also important. A coop needs ventilation to reduce moisture and smells, but it should not be draughty around the roosting area. Dampness is often more of a problem than cold for chickens, so keeping the house dry and well ventilated is key.
Watch Out For Red Mite
When cleaning your coop, take the opportunity to check for red mite. These tiny pests hide in cracks and crevices during the day and come out at night to feed on chickens. They can make hens uncomfortable, reduce laying and cause real problems if left untreated.
Look around perch ends, joins, corners, roof gaps and nest boxes. You may see tiny grey or red mites, staining, clusters of dirt-like specks or hens becoming reluctant to go into the coop at night.
Regular cleaning with a suitable poultry cleaner, followed by disinfecting and using appropriate mite prevention or treatment products, can help you stay on top of the problem. Getting into the cracks and crevices of the coop is especially important because that is exactly where mites like to hide.
Keep Food And Water Areas Clean Too
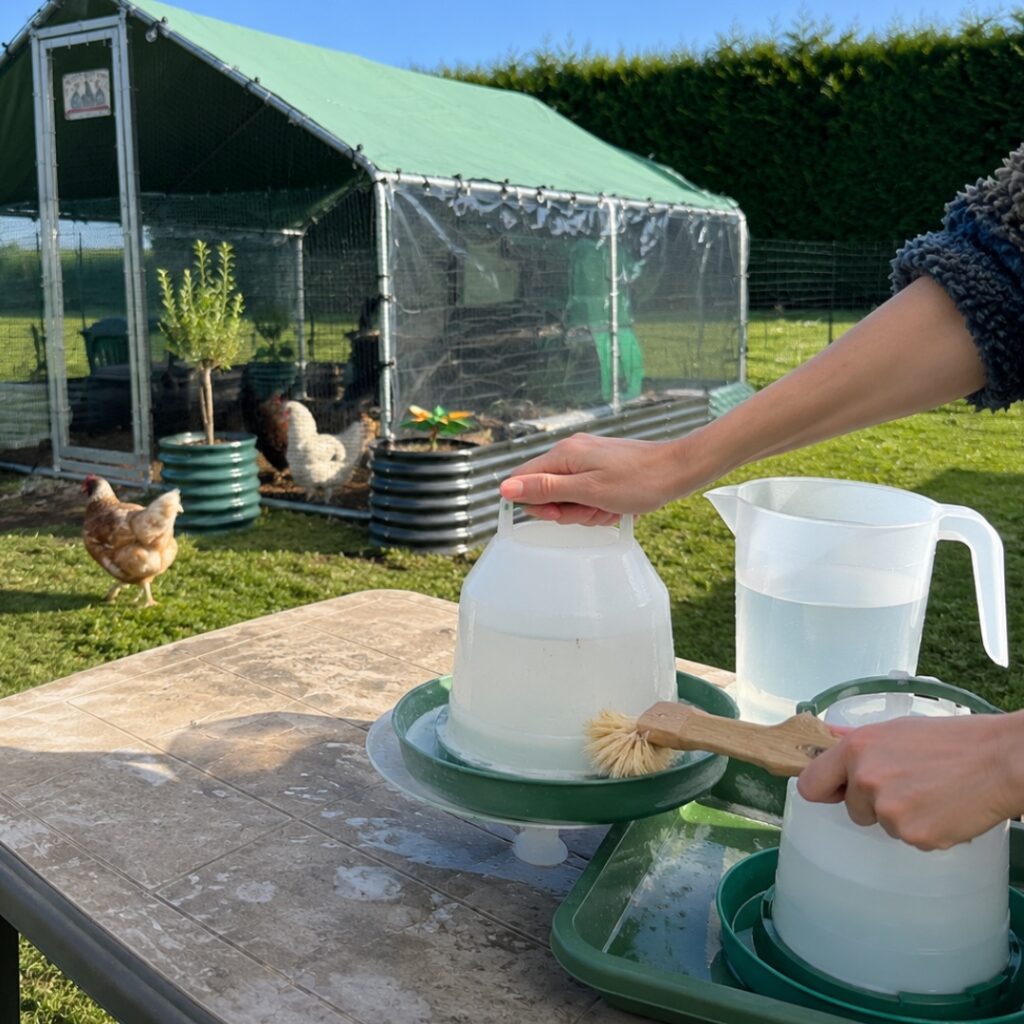
A clean coop is only part of the picture. Feeders and drinkers also need regular attention. Dirty water can quickly become unpleasant, especially in warm weather, and feed can attract pests if it is left to spill or go stale.
Keep drinkers clean and topped up with fresh water. Wash feeders as needed and try to avoid leaving piles of feed on the ground. If your hens are enthusiastic scratchers, and most are, they may scatter feed around for fun. Using suitable feeders can help reduce waste and keep the area tidier.
A clean feeding area supports the same goal as a clean coop, a healthier, happier flock.
Cleaning Wooden Vs Plastic Chicken Coops
The same basic cleaning routine applies to most chicken coops, but the material can make a difference.
Wooden coops can have more cracks, joins and grain where dirt and mites can hide, so they need thorough scrubbing and regular checks. Make sure wooden houses dry fully after washing, as damp wood can become a problem.
Plastic coops are often easier to wash down and dry, but they still need proper cleaning. Dirt can still collect around fittings, nest boxes, perches and door edges, so do not skip the detail work.
Whatever type of coop you have, the golden rule is the same: remove muck, wash thoroughly, rinse, disinfect, dry and add fresh bedding.
You can read more about the differences between plastic and wooden hen houses here.
A Simple Coop Cleaning Routine For Happy Hens
Keeping your chicken coop clean does not need to be fancy. It just needs to be regular and thorough.
Every few days, remove obvious droppings and check for wet bedding. Each week, freshen nest boxes and look over the coop for smells, damp or signs of pests. Every three months, give the coop a proper deep clean using Poultry Shield cleaner, hot water and a scrubbing brush, then rinse with a hose and disinfect with Virkon S using a garden sprayer. Once everything is dry, add fresh bedding and let your hens enjoy their clean little house.
It is not the most glamorous job in the world, but it is one of the best things you can do for your flock. And there is something very satisfying about seeing a clean coop, fresh bedding and hens clucking around as if they have just checked into a five-star poultry retreat.
Keep Your Coop Sparking Clean With Products from Pipinchick!
At Pipinchick, we know that healthy chickens start with good husbandry. A clean coop helps protect your flock, keeps your hens comfortable and makes chicken keeping much more enjoyable for everyone involved.
With regular cleaning, Poultry Shield cleaner, Virkon S disinfectant, fresh bedding and a simple routine, you can keep your chicken house fresh, hygienic and ready for all the daily bustle of flock life. Clean out the droppings, keep bedding dry, give the coop a proper deep clean every three months and stay one step ahead of pests.
Your hens may not be able to squawk "thank you!", but they will certainly enjoy a clean, dry and cosy place to roost.